Monta platform integration
By connecting your Monta account to Returnless, you can easily set up a return form for your Webshop. Your customers will be able to find their orders easily, returns that are created can then be automatically processed. You are also able to create returns directly from returnless.
Features of the Monta Integration
The Monta integration offers the following capabilities:
- Search order: Customers can easily find their order in the return form.
- Create return: Returns are processed directly within Monta.
How to Install
The connection is set up via the Monta API.
Creating Monta API credentials
To make a connection to your Monta portal, you will need to create a new API user for Returnless. To do that, follow these steps:
- Login to your Monta portal.
- Click the blue Home tab, and select the Connect tab.
- Click the REST API button and click the + icon to add a new API user. Enter the follow details:
- Username: Returnless_platform
- Email: support@returnless.com
- Click the Connect button and save the password that will appear, as it will only be shown once. Please note Monta may have changed the username, you can find the username in the table with API users that is shown to you once the user is saved.
Adding an integration
To create a new integration between Returnless and Monta, follow these steps:
- Login to your return panel
- Navigate to the Settings > Integrations page where you will find the E-commerce platform section.
- To add a new integration, select the Add new integration button.
- Select the Monta integration. A modal will open, asking you to enter the API username and password that you've created in the previous step.

Activating the integration
To activate the integration, you will need to enable the integration in a return form. Follow these steps:
- Login to your Return panel
- Navigate to Settings > Return forms and open the applicable return form.
- Go to the Integrations tab and select the Monta which you've added in the previous step.
How to use features
Activating Features
By default, all features will be disabled. In order to start using a feature, make sure to enable the integration in a return form.
To view the feature settings, follow these steps:
- In the return panel navigate to Settings > Return forms and open the settings of the applicable return form.
- Go to the Integrations tab.
Here you will be able to define the default search integration and enable features.
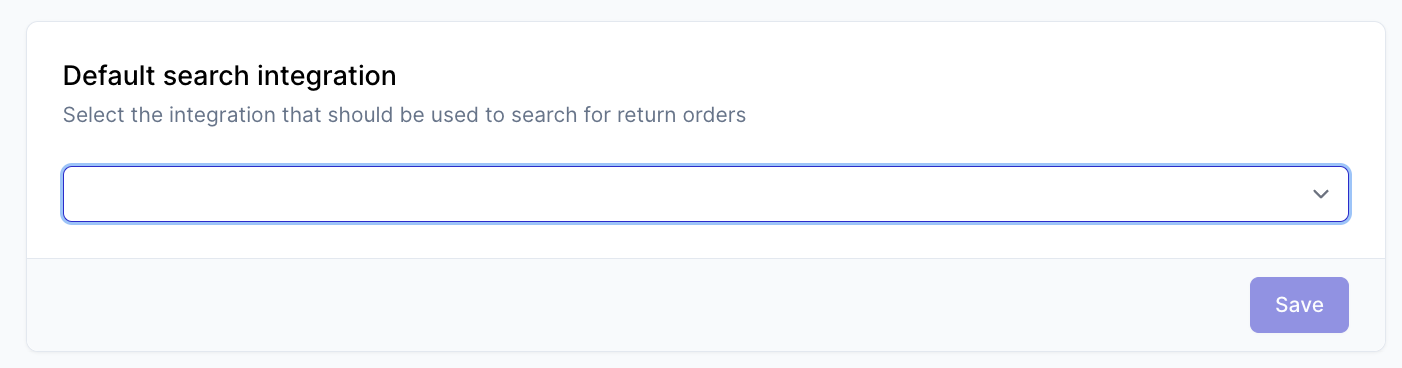
Default search integration
Only a single integration will be used as the main source when searching for orders. If consumers need to look up the order in Shopify, make sure to set this in the default search integration setting. Doing this will automatically enable the Search order feature in the integration features overview for the integration.
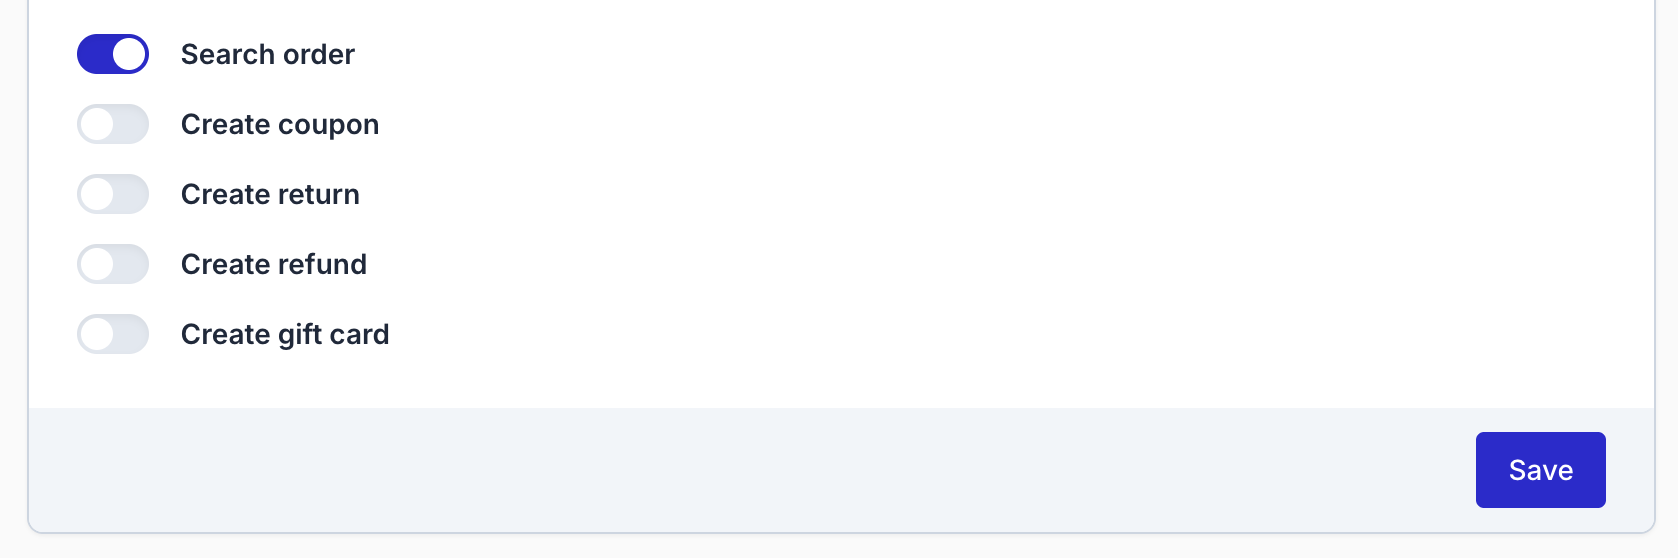
Enable other features
Other features can be toggled in the same overview. Scroll down to the Shopify section. Here you will see all available features and whether they are on or off. If you want to enable or disable a feature you can change it here and then click on Save.
Search Order
With the search order feature, consumers will be able to find their Monta order in the Returnless return form by using their sales order number.
Search order settings
You are able to configure two ways of validating the order within your Monta-integrated return form.
| Validation Method | Description |
|---|---|
| Email address | The order will be validated with the customer's email address |
| Postcode | The order will be validated with the customer's postcode |
Here are the additional settings you can configure for order search:
| Setting Name | Description |
|---|---|
| Order Search Field | Define here which Monta field Returnless will search during order search, can be order number or reference. |
| Strip following characters from order number | Define characters to be removed from the search. |
| Reference suffix (used when searching on reference) | Define a suffix to be added to the reference search. |
| Order number prefix | Define a prefix to be added to the order number search. |
Mapping
Returnless and Monta both track return reasons for returns. These return reasons are not exactly the same and therefore mapping is needed to link them.
To set up the mapping a list of return reasons in Returnless is shown. Simply select in the right column which return reason in Monta should be set based if the return reason in the left column is provided by the consumer.

Monta statuses in Returnless
If you want to update the return status once Monta has processed the return, you will need a webhook that communicates between Monta and Returnless. Ask your Monta accountmanager to setup this webhook with the following details:
| Parameter | Value |
|---|---|
| URL | https://webhooks.returnless.com/monta/webhook |
| Event | Return Received Update |
Create Return
It is possible to define which status in Returnless should be set for the return order when the RMA in Monta has received the status processed.
It is possible to define the status is set when the RMA is processed with the Rejection.
