Processing a return order
A return is created after a consumer submits a validated return request that is automatically or manually approved. See Processing a Request for more on that step.
Once created, the return order tracks the full return process — including related shipments, refunds, and coupons. This article explains how to access a return order, review information, communicate with customers, update statuses, and execute return-related actions.
Accessing a Return
- Log in to your Returnless Panel.
- Navigate to Returns.
- Click a return number to open it.
You can also open a return directly by scanning the shipping label's barcode.

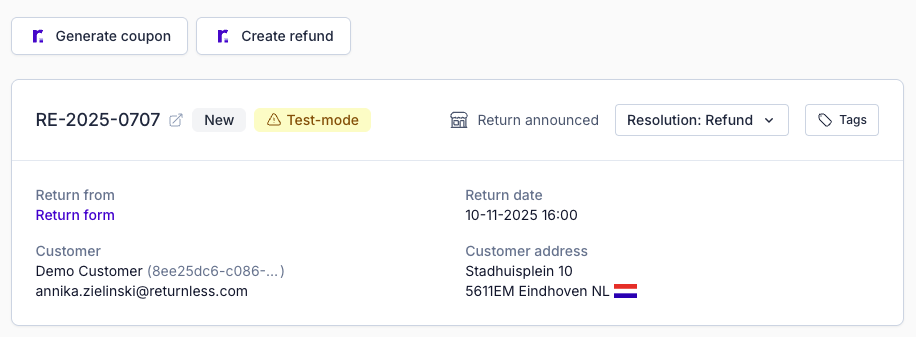
Return Information
Customer View
Click the customer view icon next to the return number to see the return page exactly as the consumer sees it.
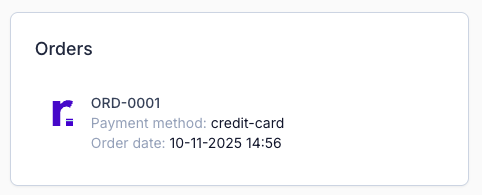
Order Information
On the right-hand side, you’ll find the originating order and relevant details. If platform integrations are enabled, it also displays synced data from connected systems.
Timeline
The bottom-right corner shows a timeline of all logged activity: status changes, notes, shipment updates, and more.

Return Details
In the central panel, you’ll find all key information related to the return:
| Information | Description |
|---|---|
| Customer information | Name, email, postal address, and other identifying info. |
| Return details | Return form used and date of return creation. |
| Triggered rule | Indicates which Return Rule (if any) created or auto-approved the return. |
| Products | Items being returned, including selected reasons for each product. |
| Answers to return questions | Customer responses to your custom return form questions. |
| Notes | Messages left by customers or internal users. Toggle visibility using the Notes switch. |

Return Processing
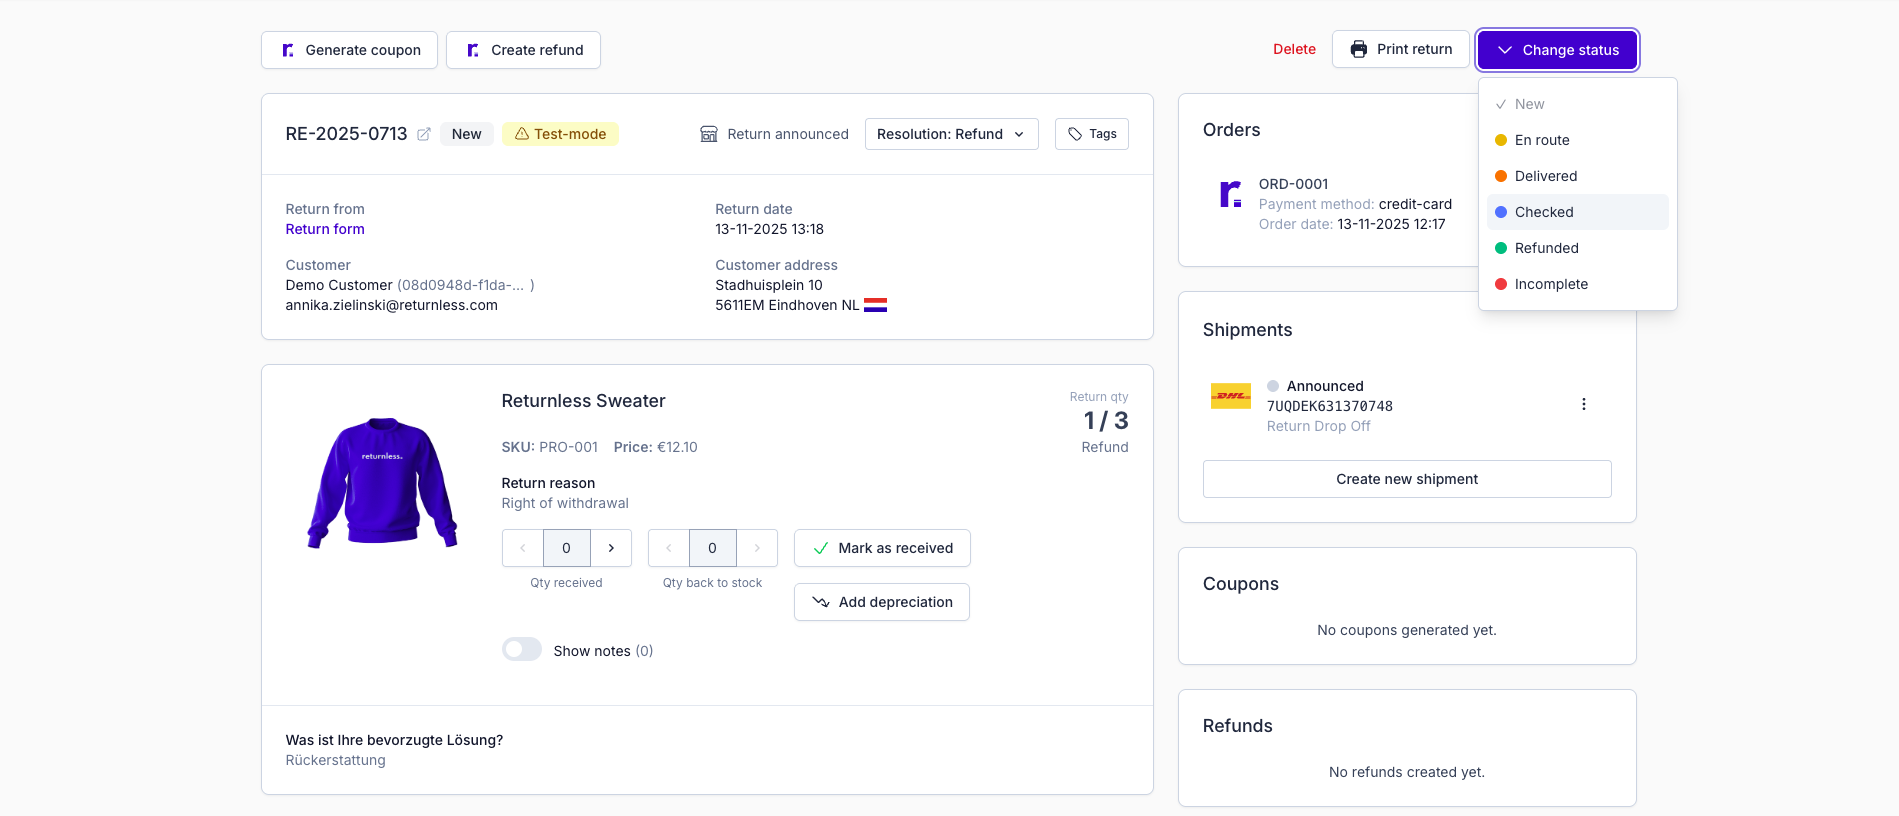
Updating Return Statuses
Return statuses are fully customizable and managed by the webshop owner. Your statuses should match the steps in your return workflow. Manage your statuses under General Settings → Statuses.
To change a return's status:
- Click Change status (top-right).
- Select the new status.
Notes
Notes let you and the customer communicate directly within the return. Notes can apply to either the entire return or to specific items.
Viewing Notes
- New customer notes appear as unread.
- For item-level notes, click Show Notes.
Marking as Read/Unread
- Replying to a note automatically marks it as read.
- To manually toggle, hover over a note and select the action.
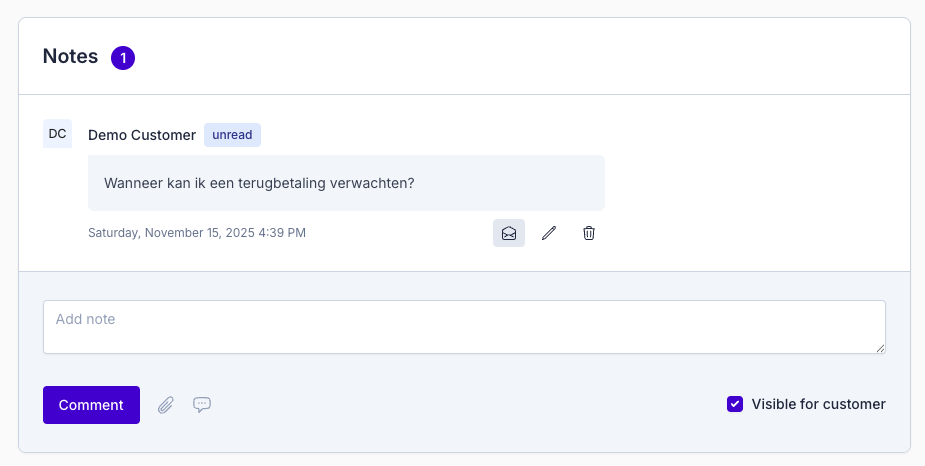
Creating Notes
- Type your message into the note field.
- Choose whether the note is visible to the consumer or internal only.
- Images and files can be attached by both customer and merchant.
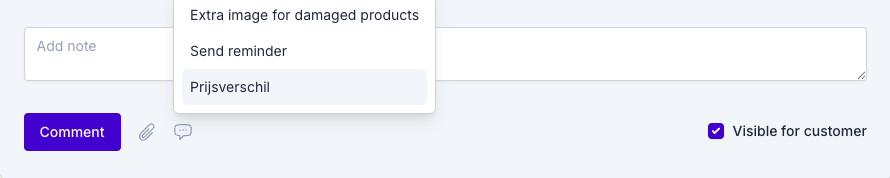
Note Templates
Save time with reusable Note Templates for standard replies. Create and manage templates under Settings → Note Templates.
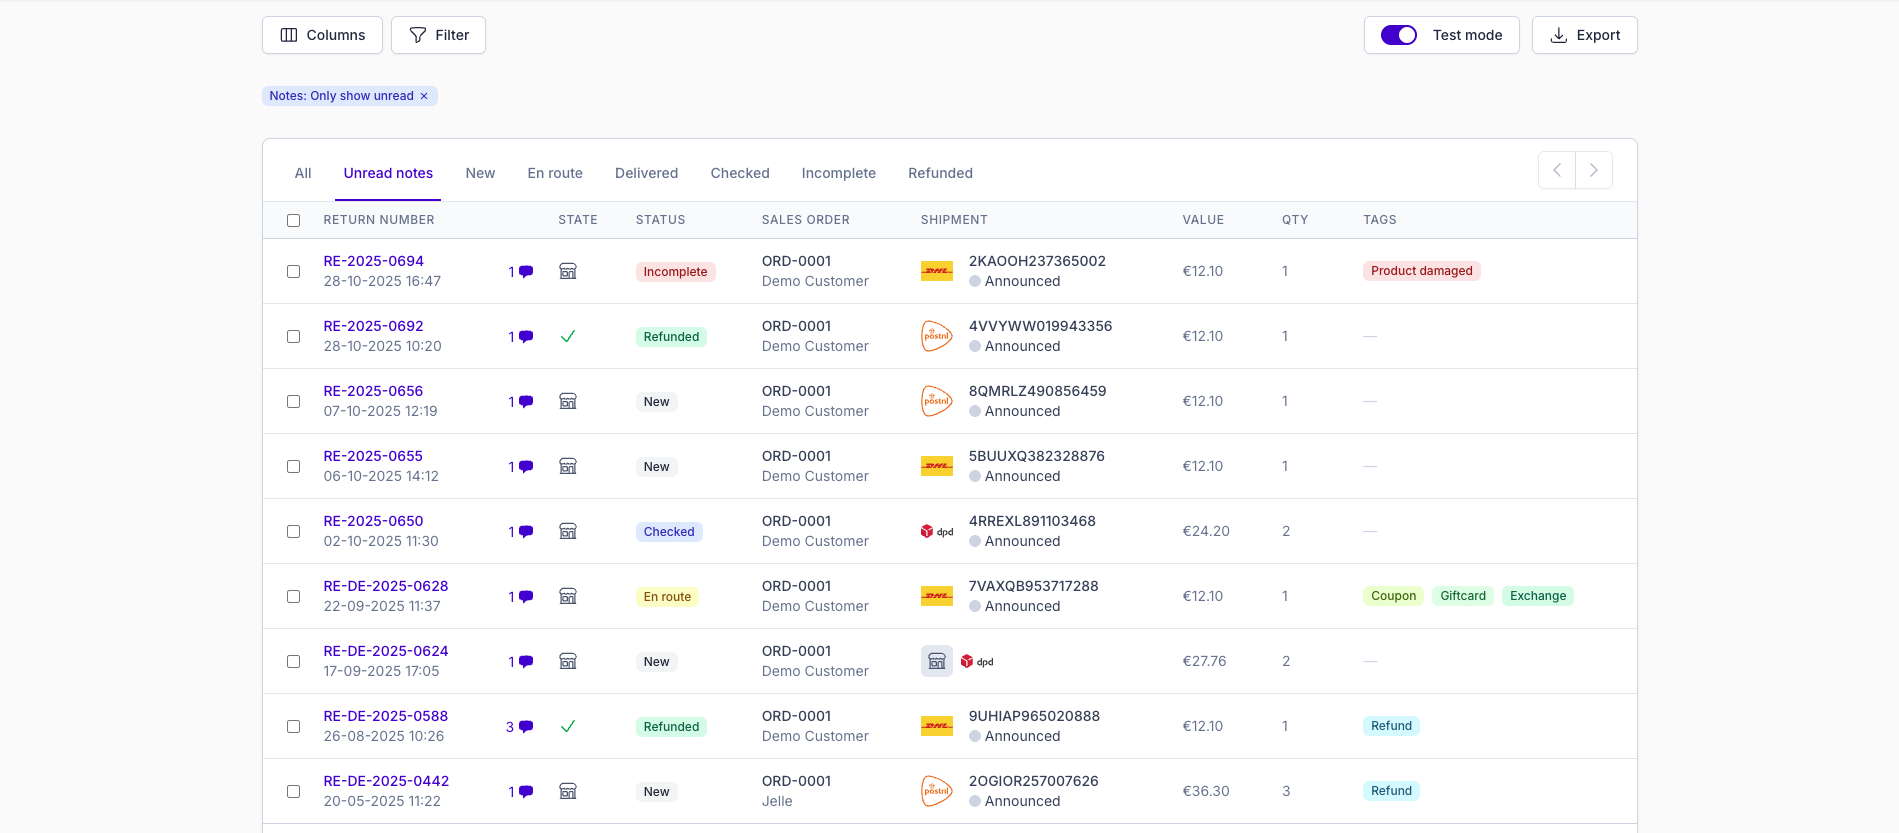
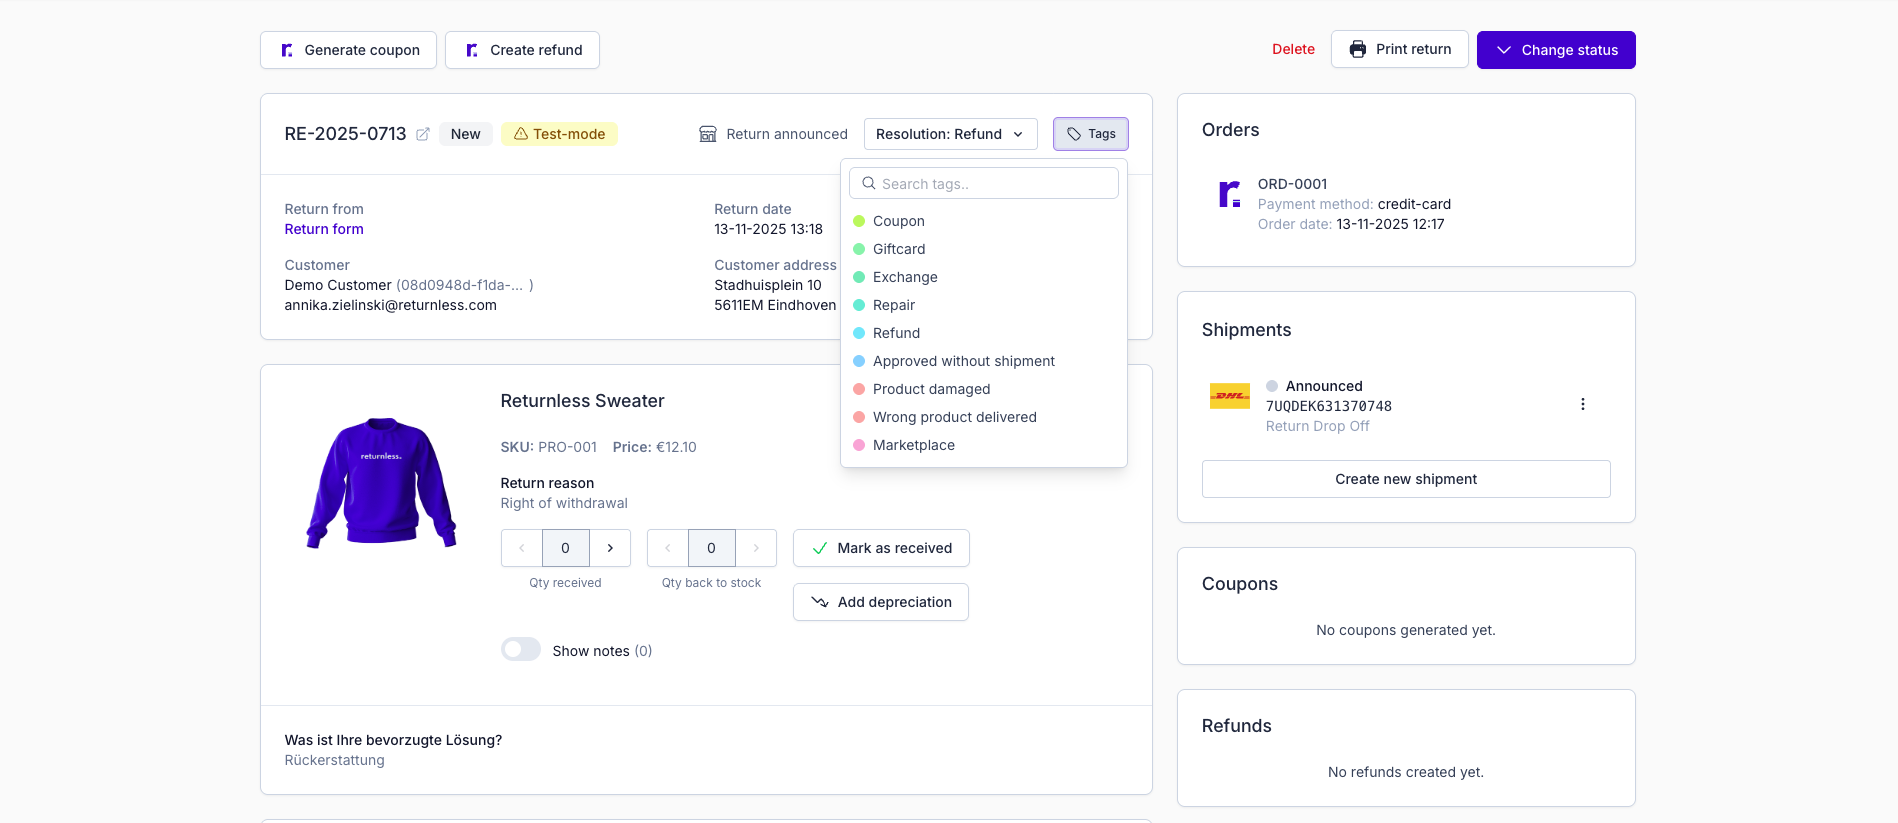
Tags
Tags help you categorize and filter returns. Create and manage tags under General Settings → Tags.
Tagging Returns
- Click Tags (top-right).
- Click a tag to add it; click again to remove it.
Applied tags are visible in the Returns overview.
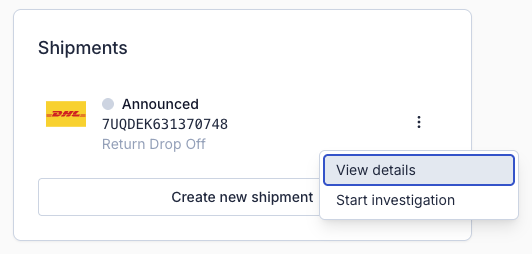
Shipments
Receiving Shipments
Once the customer creates a shipment, you can view and track it on the right side of the return page.
Creating a Shipment
Creating a shipment on behalf of the consumer
If needed, you can manually create a shipment:
- Click Create New Shipment.
- Select the carrier and complete the details.

Managing Returned Items
Mark as Received
When an item arrives:
- Click Mark as Received next to the product, or
- Scan the product's barcode to mark it received automatically.
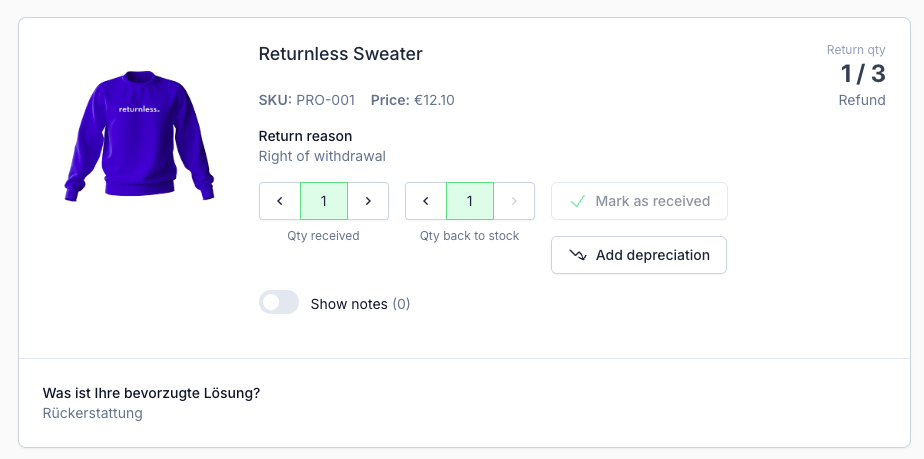
Stock & Depreciation
Stock
For each item, choose whether it:
- Returns to stock, or
- Should be handled differently based on condition.
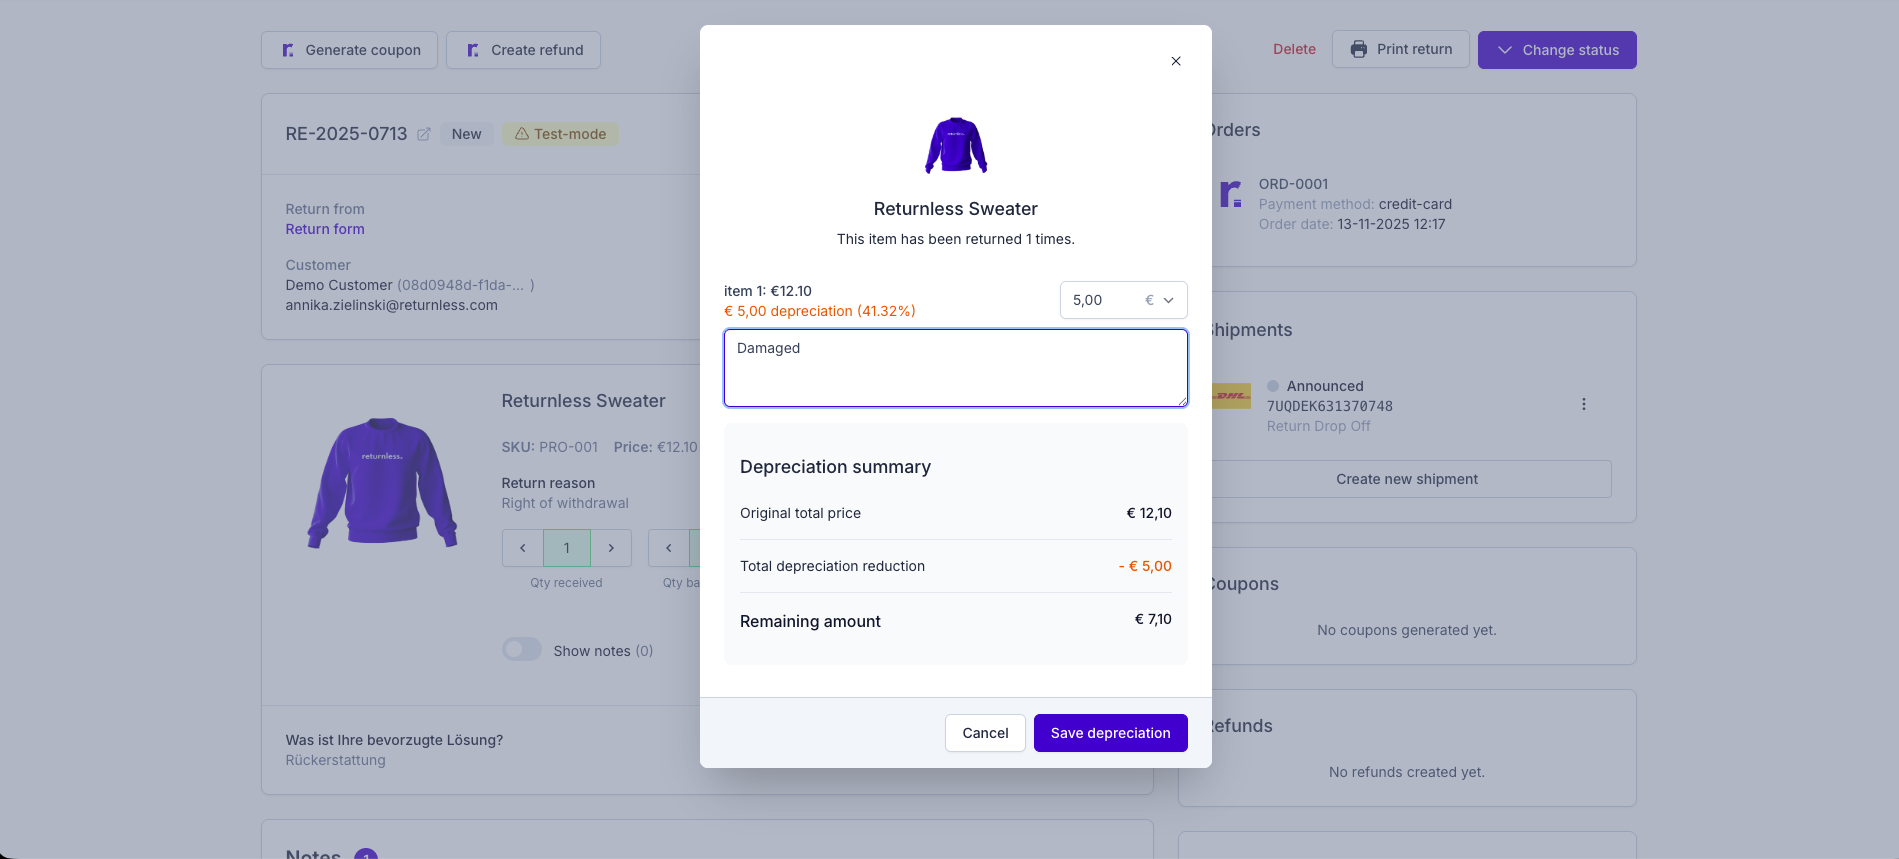
Depreciation
If an item is returned damaged, you can reduce the refund or coupon value accordingly.
To apply depreciation:
- Click Add Depreciation next to the received item.
- Choose a percentage or fixed amount.
- Add an explanatory note.
Example: a slightly damaged item receives 10% depreciation, reducing the refund from €50 to €45.
Payment Requests (Automate Plan)
Users on the Automate subscription can request customer payments during return processing. To create a payment request:
- Click Create Payment Request.
- Add a description and the items/fees to be paid.
- Mark items as mandatory or optional.
- Click Save.
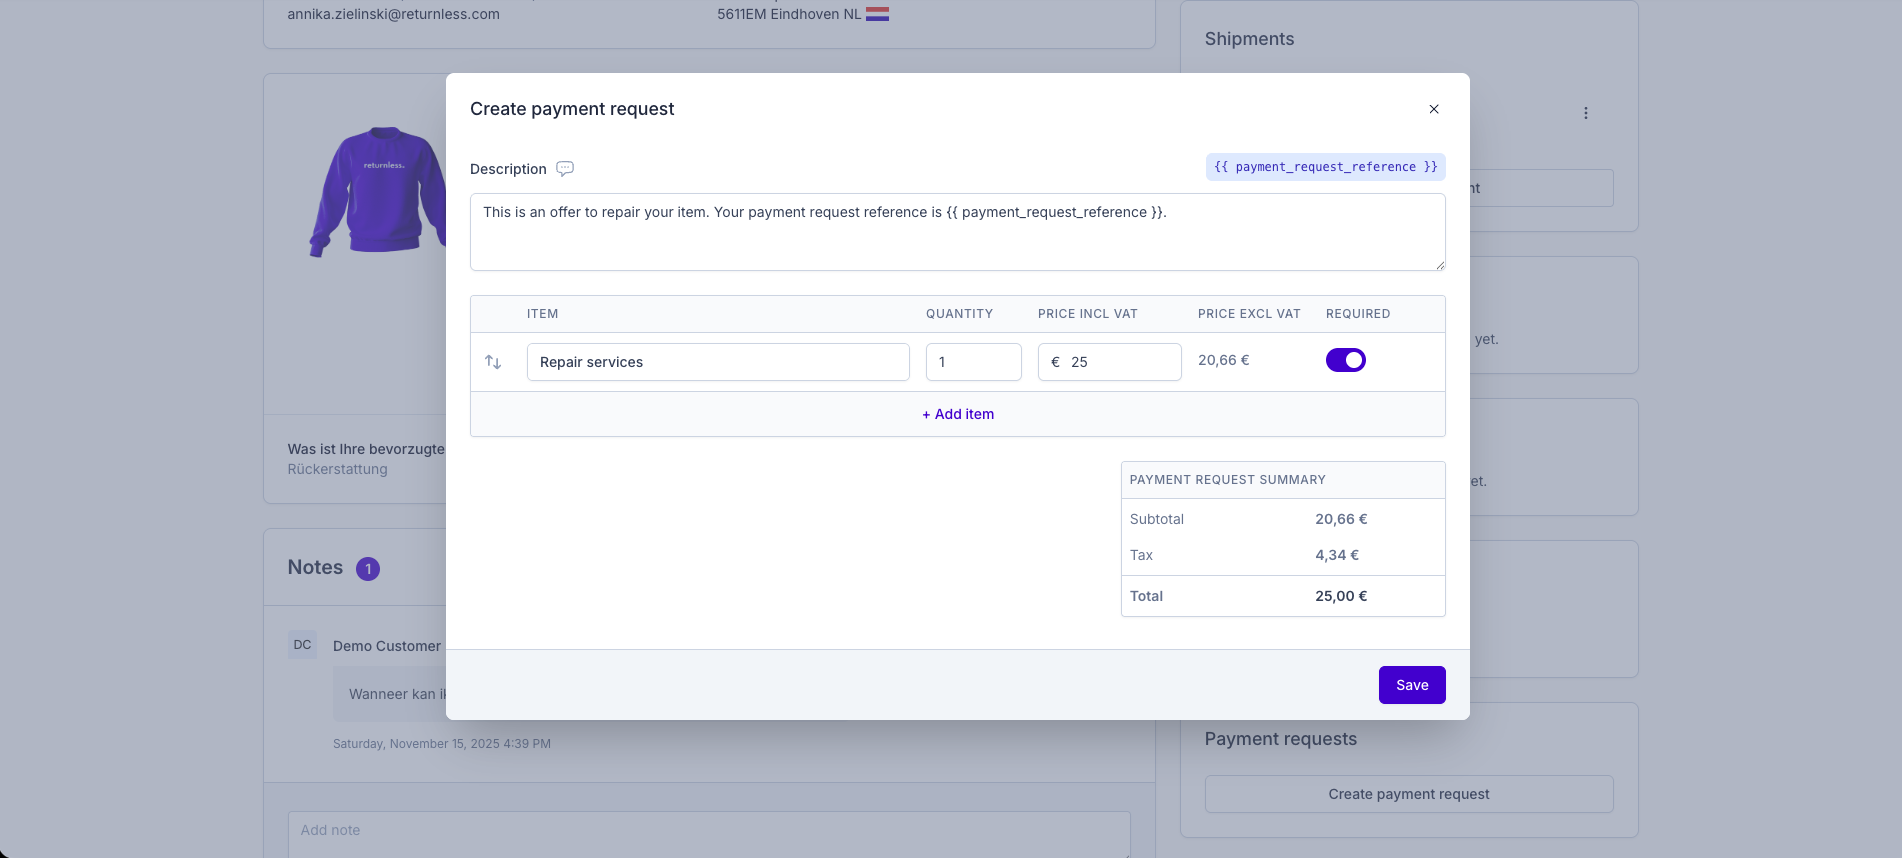
Your customer receives an email with payment instructions. Once paid, the request is shown as Paid within the return.
Coupons
Viewing Coupons
All generated coupons appear in the Coupons panel on the right.
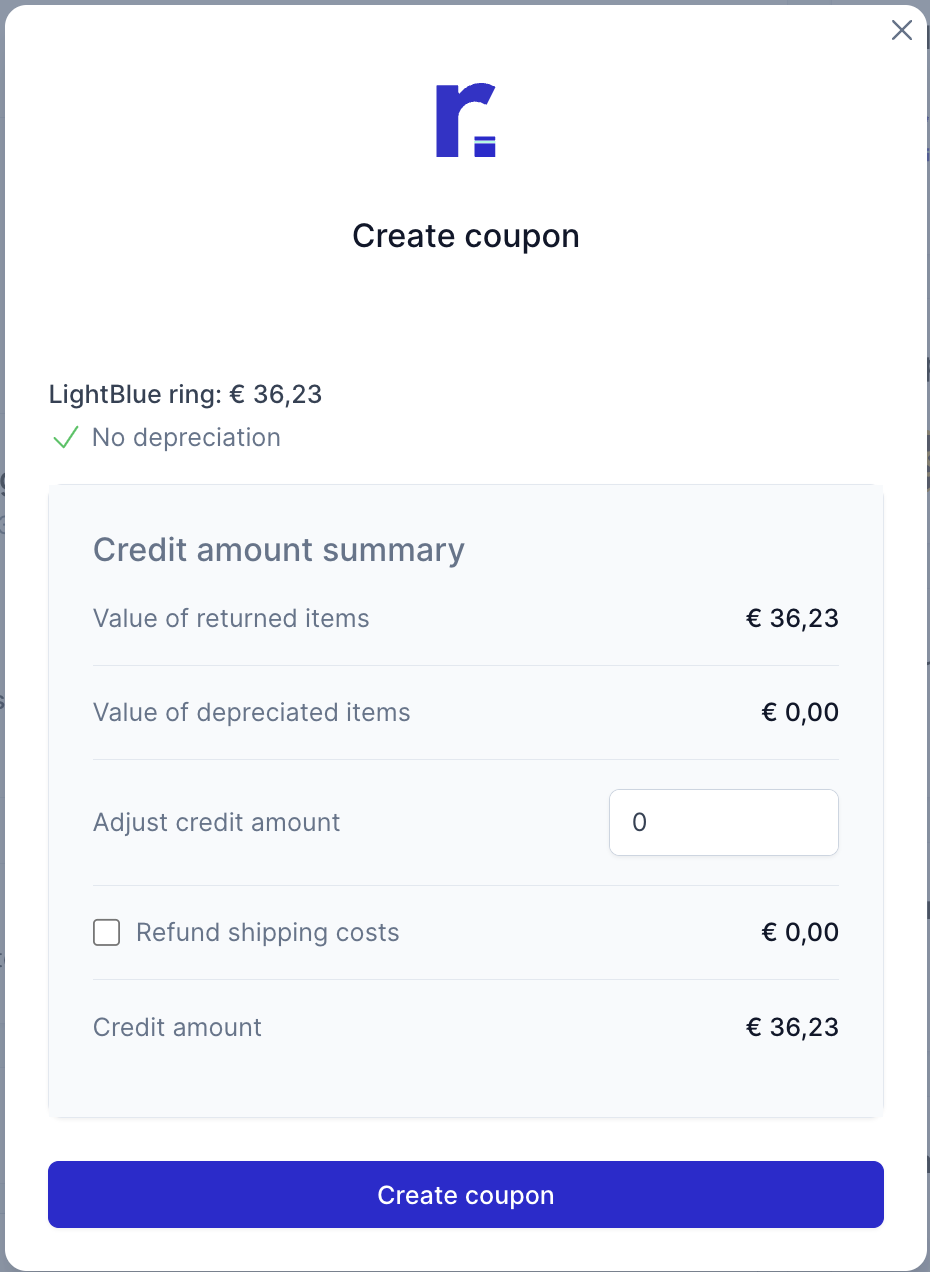
Creating a Coupon
- Make sure at least one item is marked as received.
- Click Generate Coupon.
- Configure the coupon in the modal and optionally adjust the credit amount manually.
The consumer receives the coupon automatically by email.
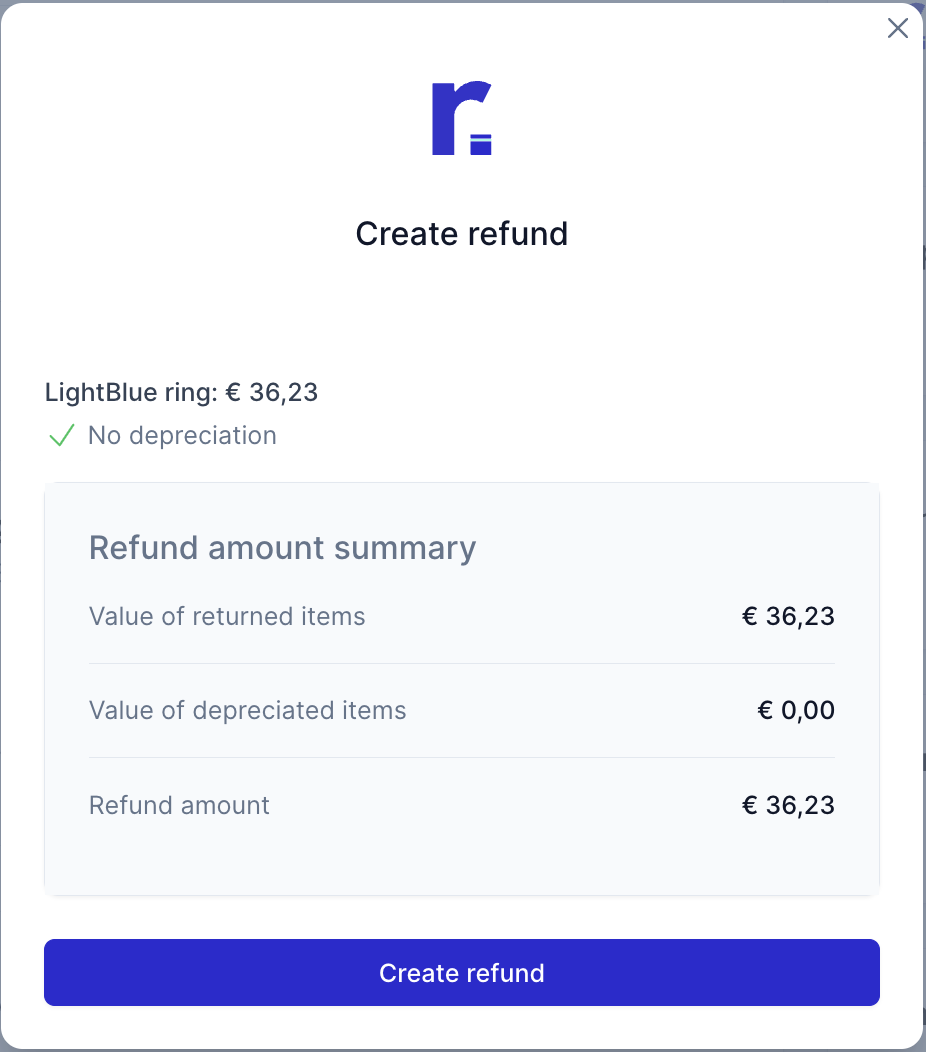
Refunds
To issue a refund:
- Items must be marked as received.
- Your integration must support refunds.
- Click Create Refund and complete the modal.
Refunds are created directly in the connected e-commerce system.
Creating an External Return
Some integrations support generating an external “return” object from within the Returnless Panel. If available:
- Items must be marked as received.
- Click Create Return and complete the modal.
Created external returns appear in the External Returns block. Check your integration's documentation to confirm whether this feature is supported.