Return form configuration
The Form configuration allows you to customise the behaviour, appearance, and communication settings of your Returnless return form. This guide explains every option available so you can tailor the form to your workflow and customer experience.
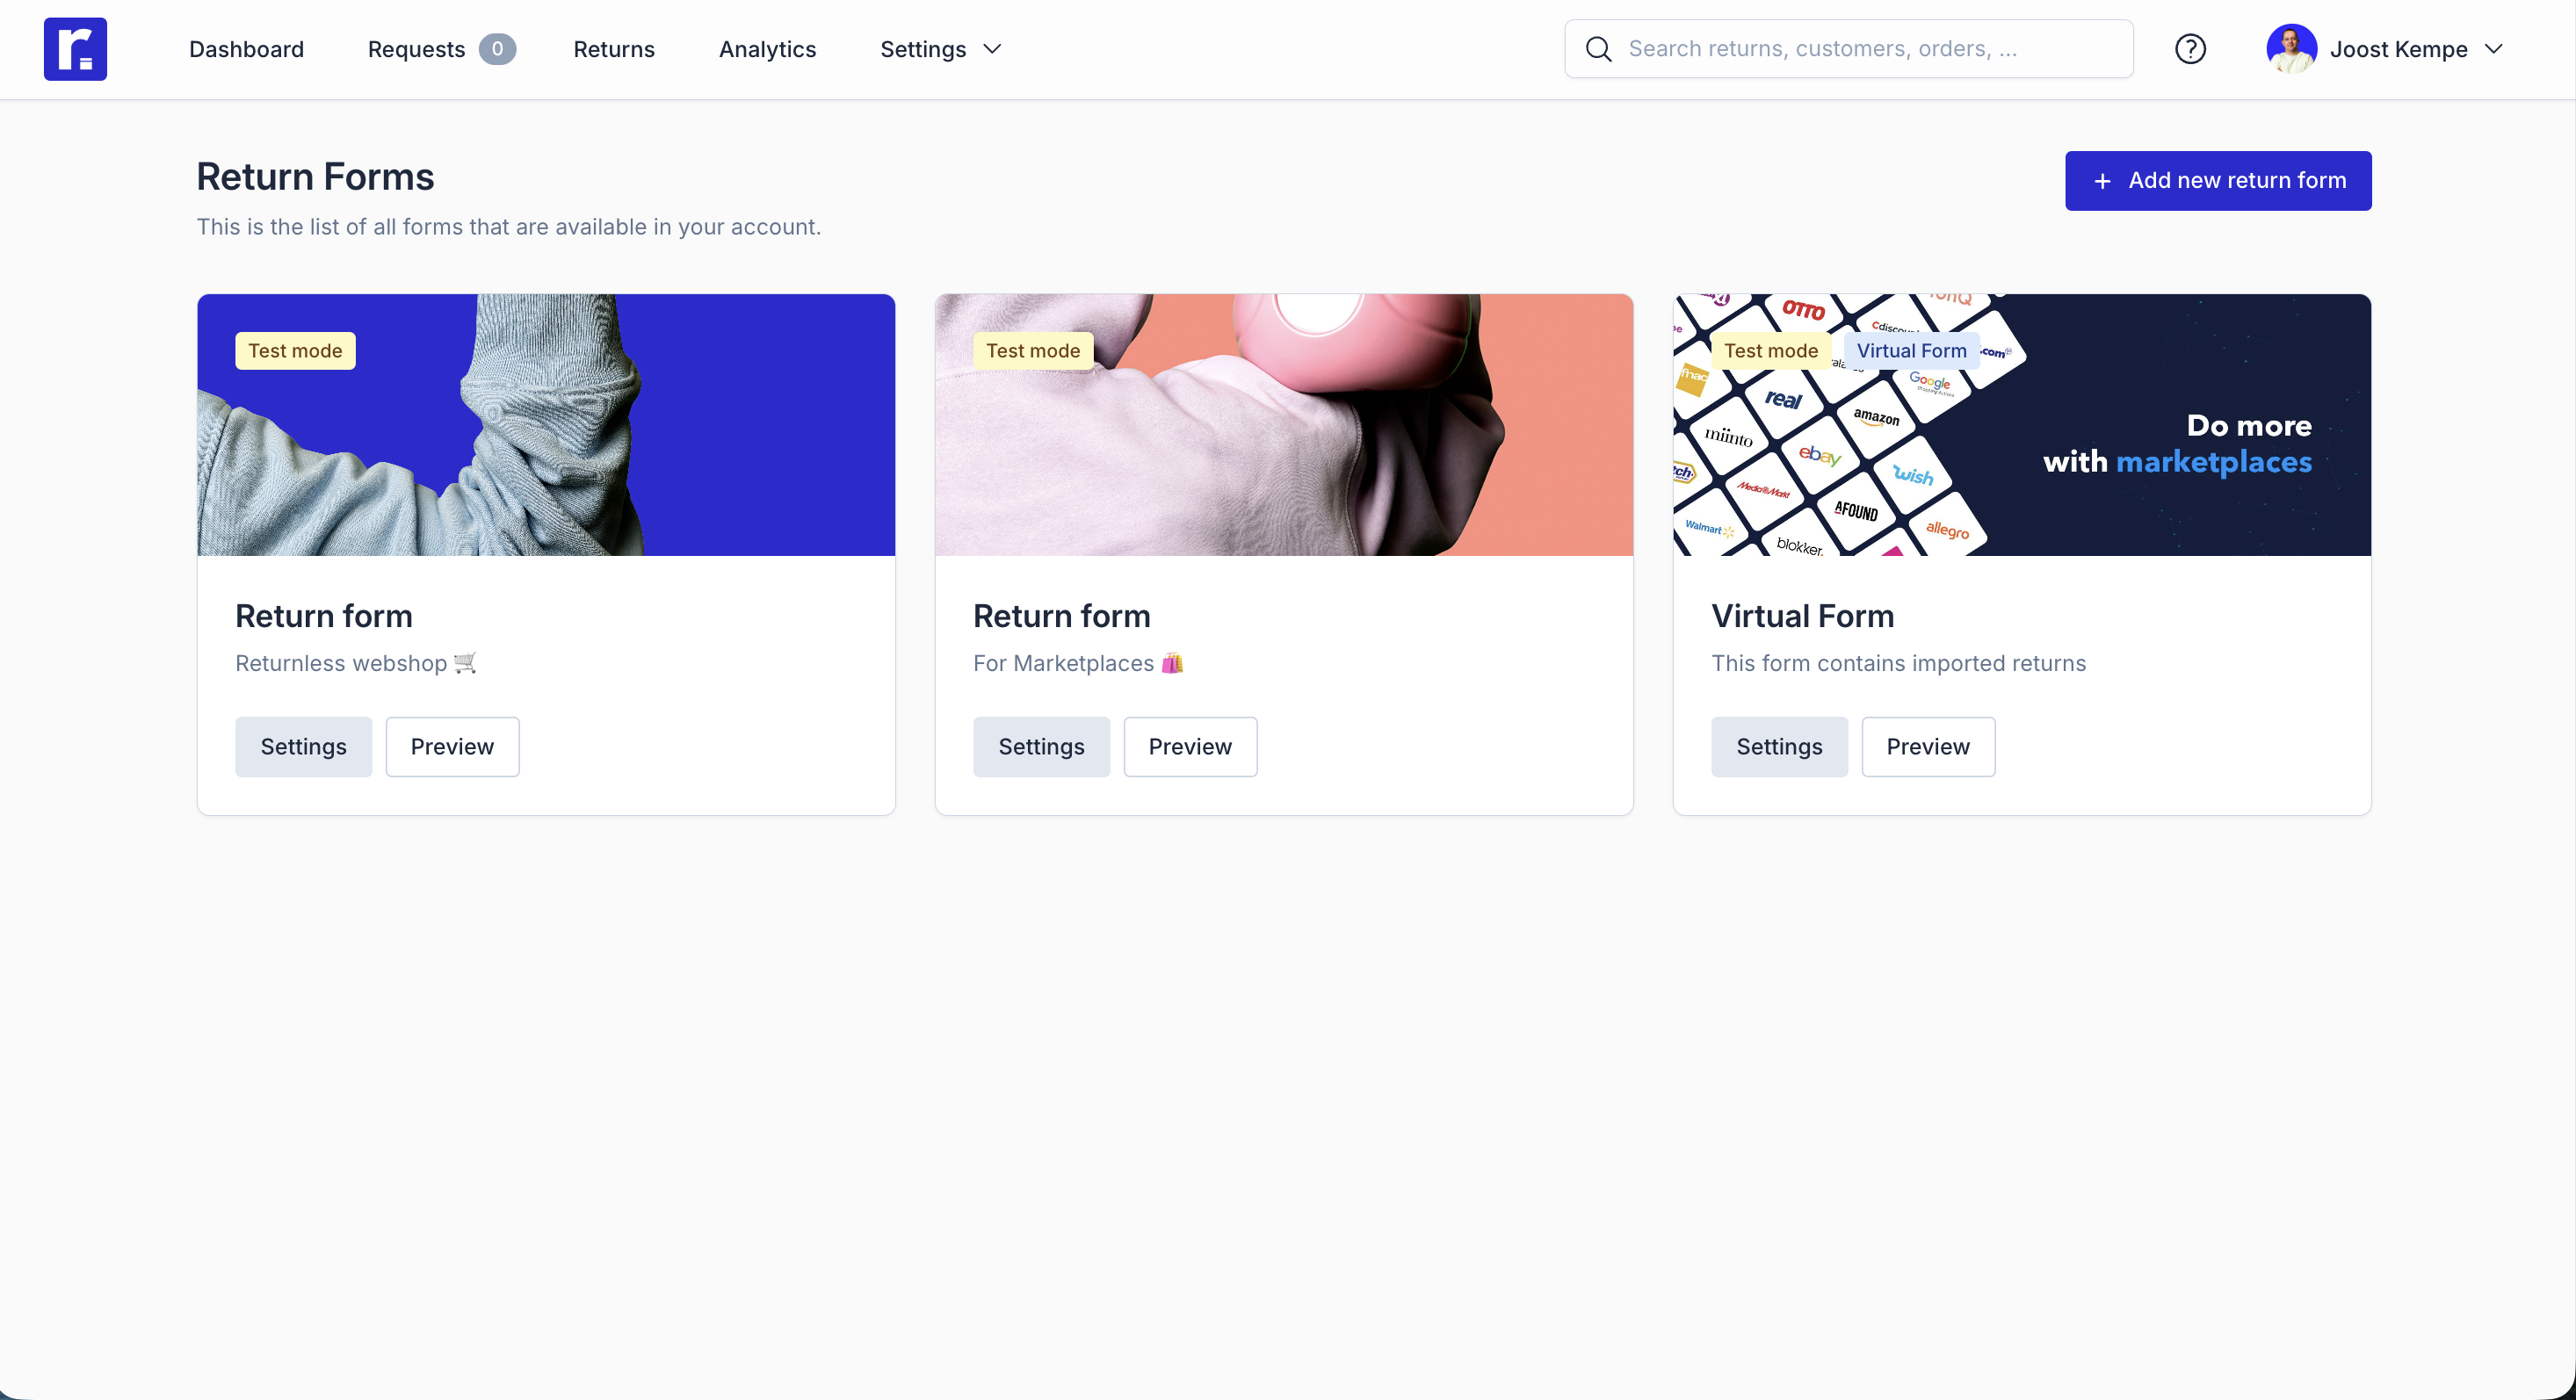
Accessing the Form Configuration
- Log in to your Returnless panel.
- Navigate to Return forms.
- Select the form you want to configure.
- Open the Form configuration (formerly General settings) tab.
1. Form Information
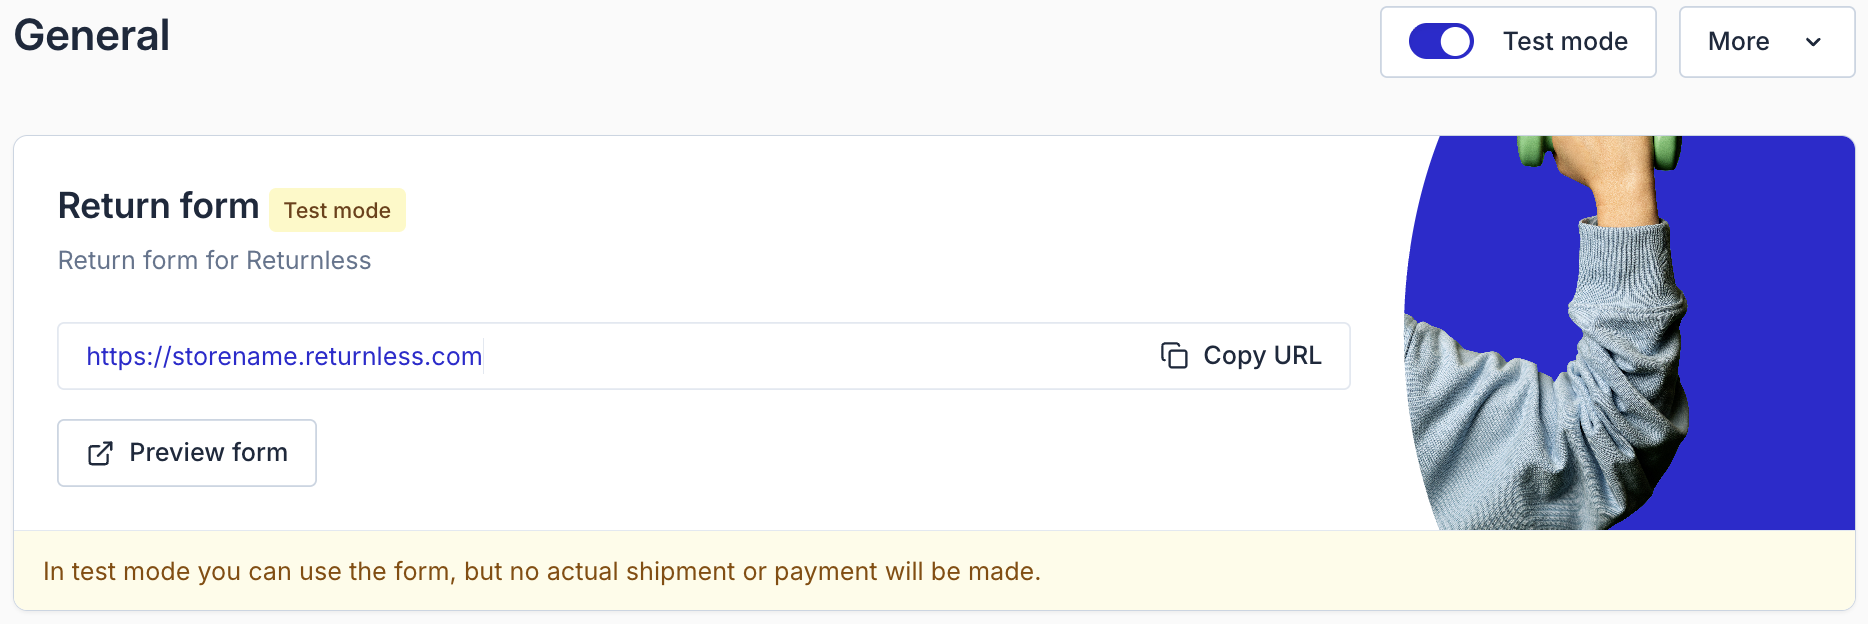
Return Form URL
Each return form has its own unique URL, which you can copy or preview. If your form is in Test mode, customers will not be able to create real shipments or make payments.
Enable form
Activate or deactivate your return form. When disabled, the form is inaccessible and customers cannot create returns.
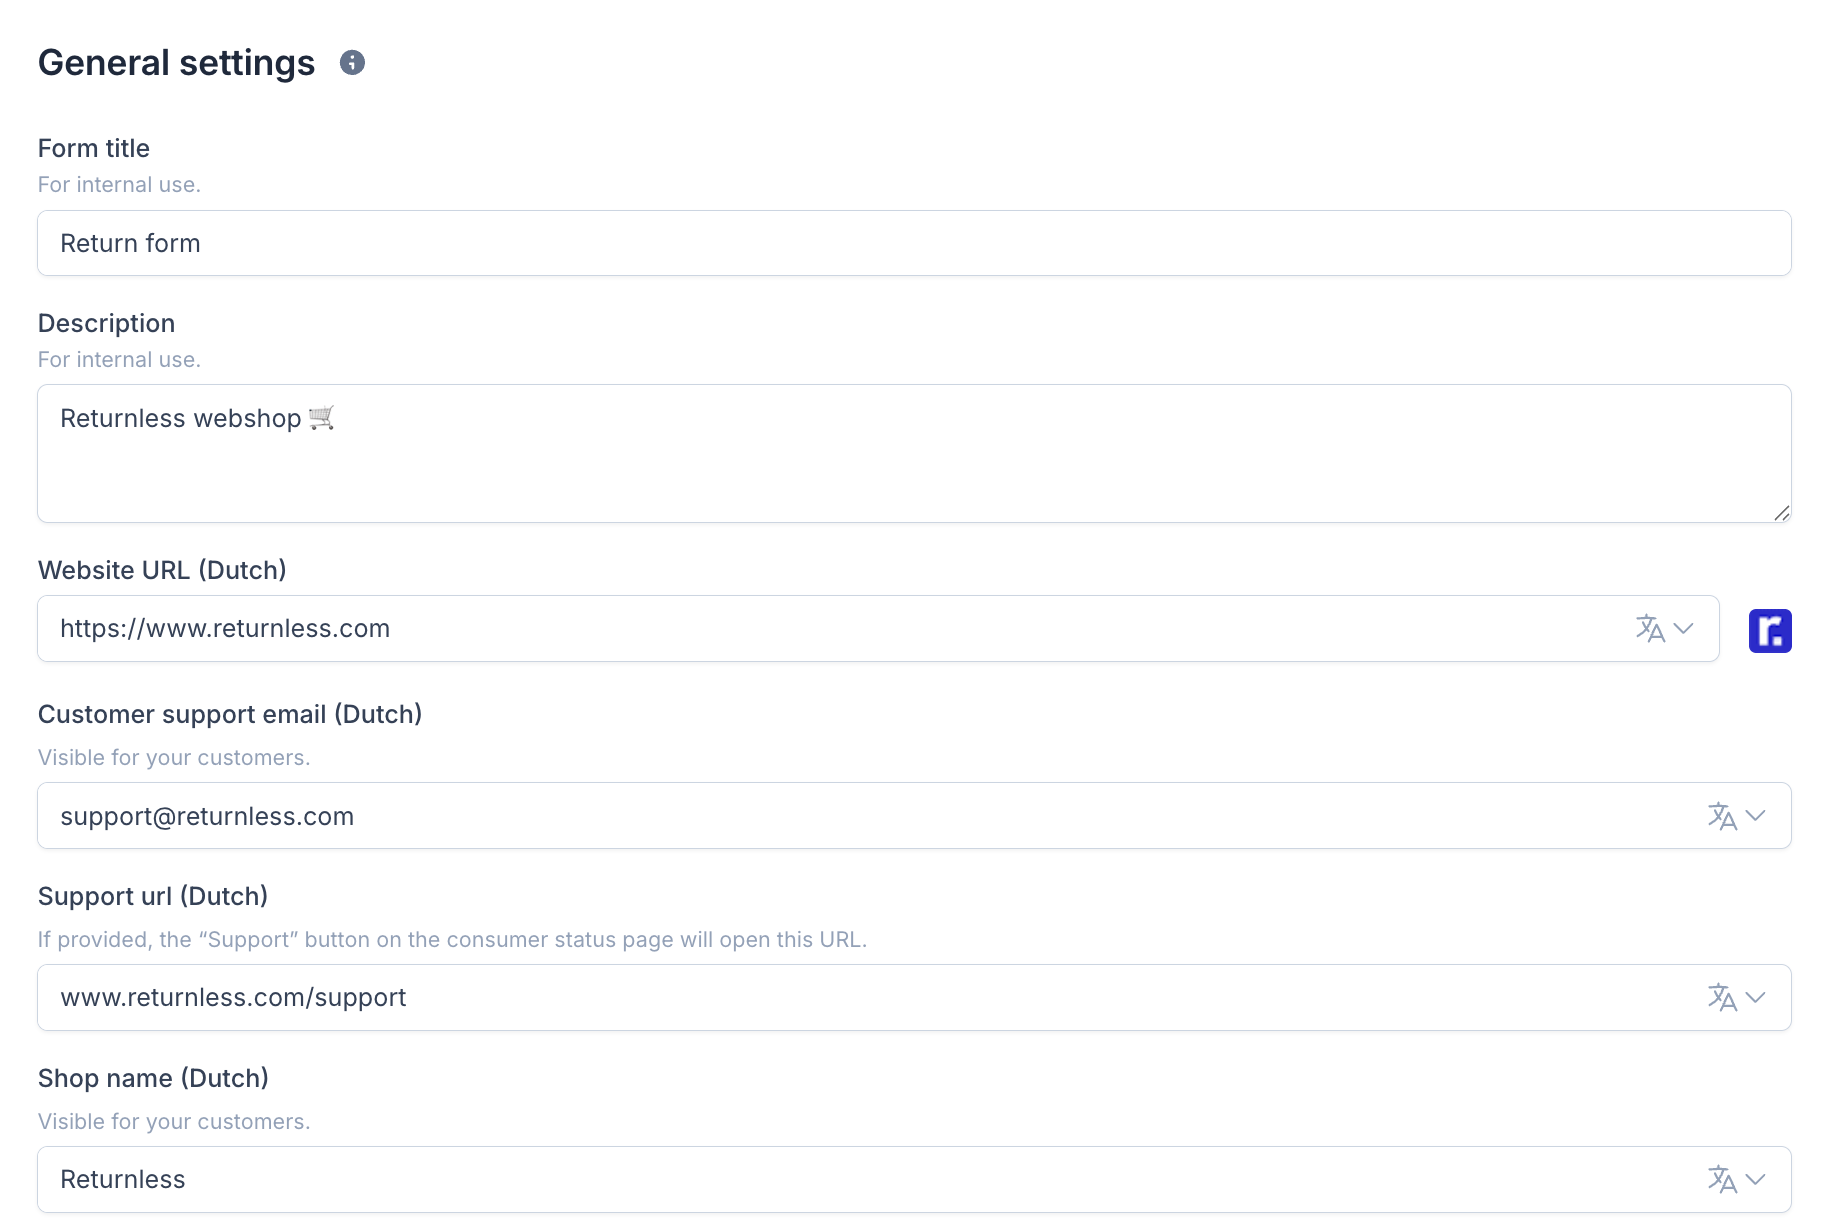
Form title
A short internal name to help you recognise the form. Tip: Use your webshop or brand name. Example: “Travelshop”
Description
An optional internal description to distinguish different forms. Example: “Standard return form used for webshop orders.”
Website URL (per language)
Displayed to customers to redirect them back to your webshop. You can configure a unique URL for each enabled language.
Customer support email (per language)
This email acts as the sender for all customer-facing communication. Carrier services may also require this email for tracking or notifications.
Support URL (per language)
If filled in, the “Support” button on the return status page will link to this URL (e.g., your help center or contact page).
Shop name (per language)
Shown to customers within the return form interface.
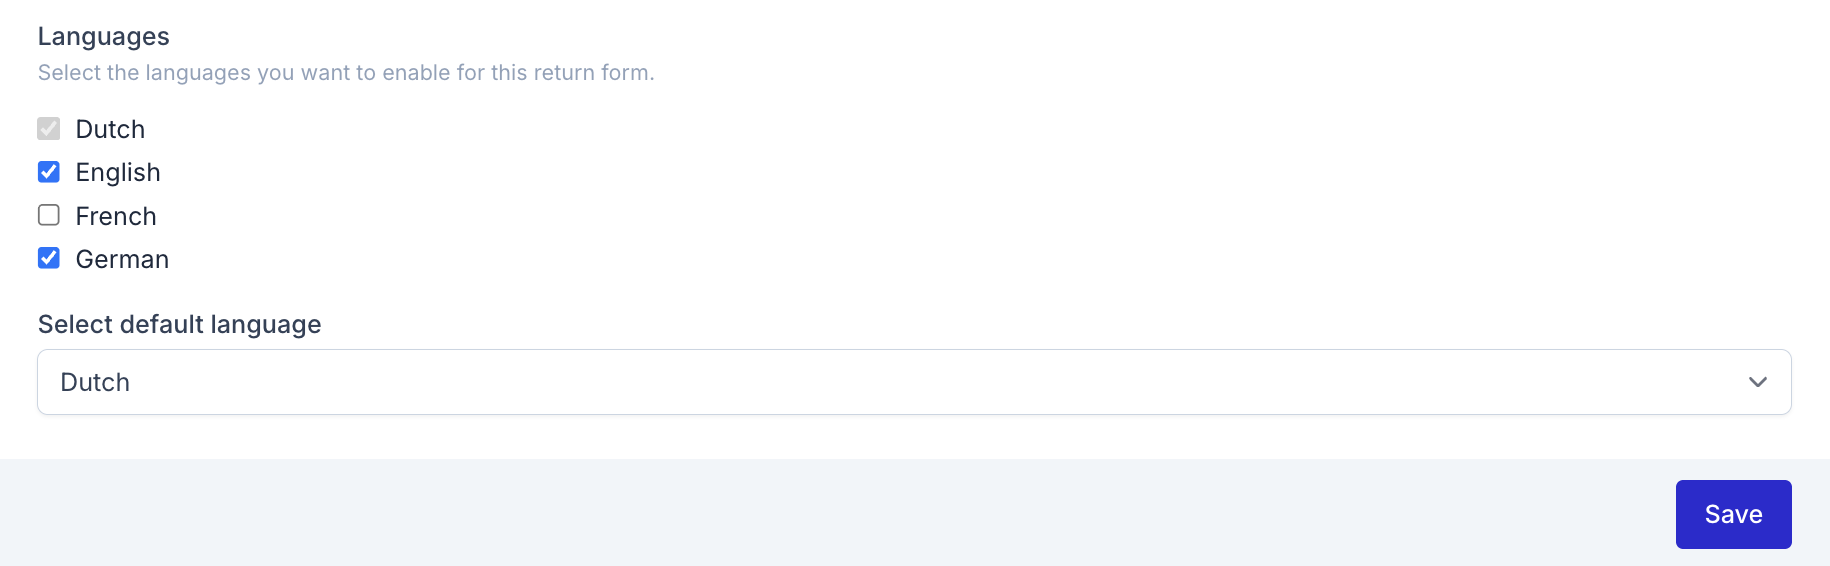
2. Language Management
Languages
Enable or disable languages for this specific return form. Disabled languages will not appear as selectable on the form.
Default language
If no language preference is detected, the default language is shown.
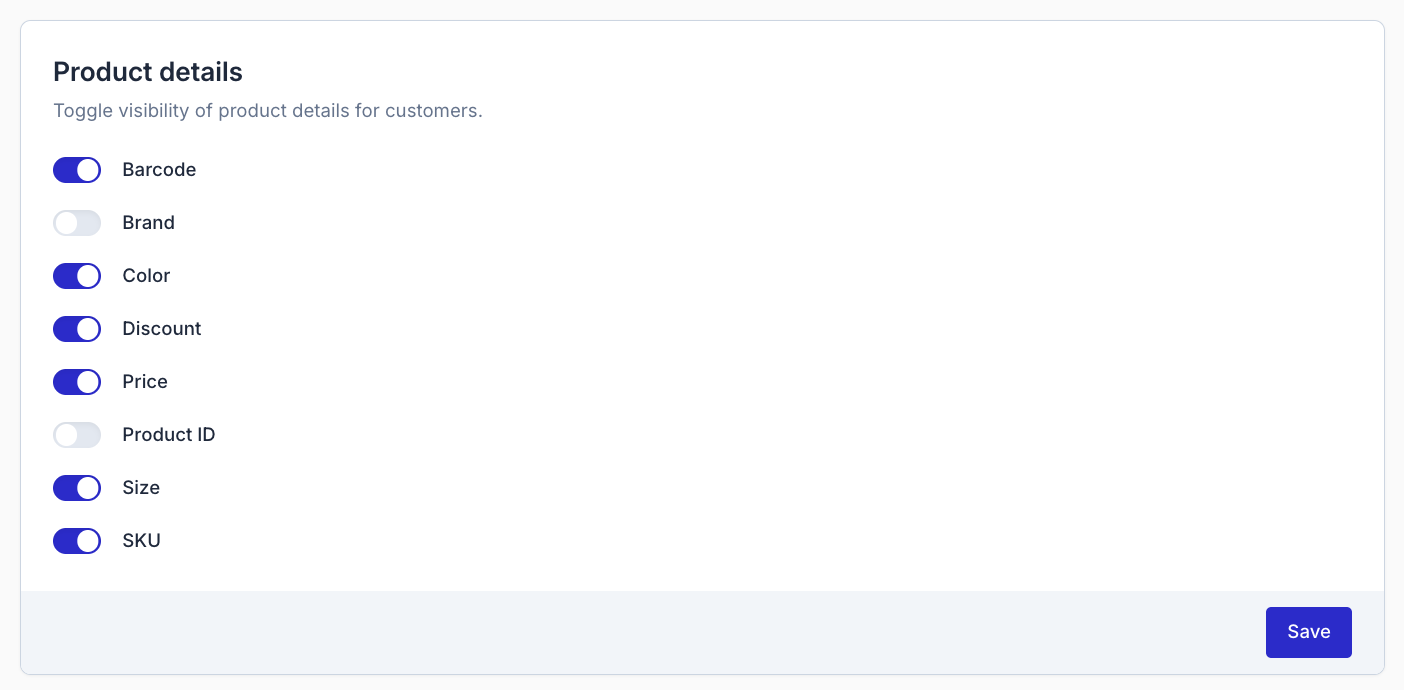
3. Product Details Visibility
Control which product attributes are shown to customers during the return flow. Available toggles include:
- Barcode
- Brand
- Color
- Discount
- Price
- Product ID
- Size
- SKU
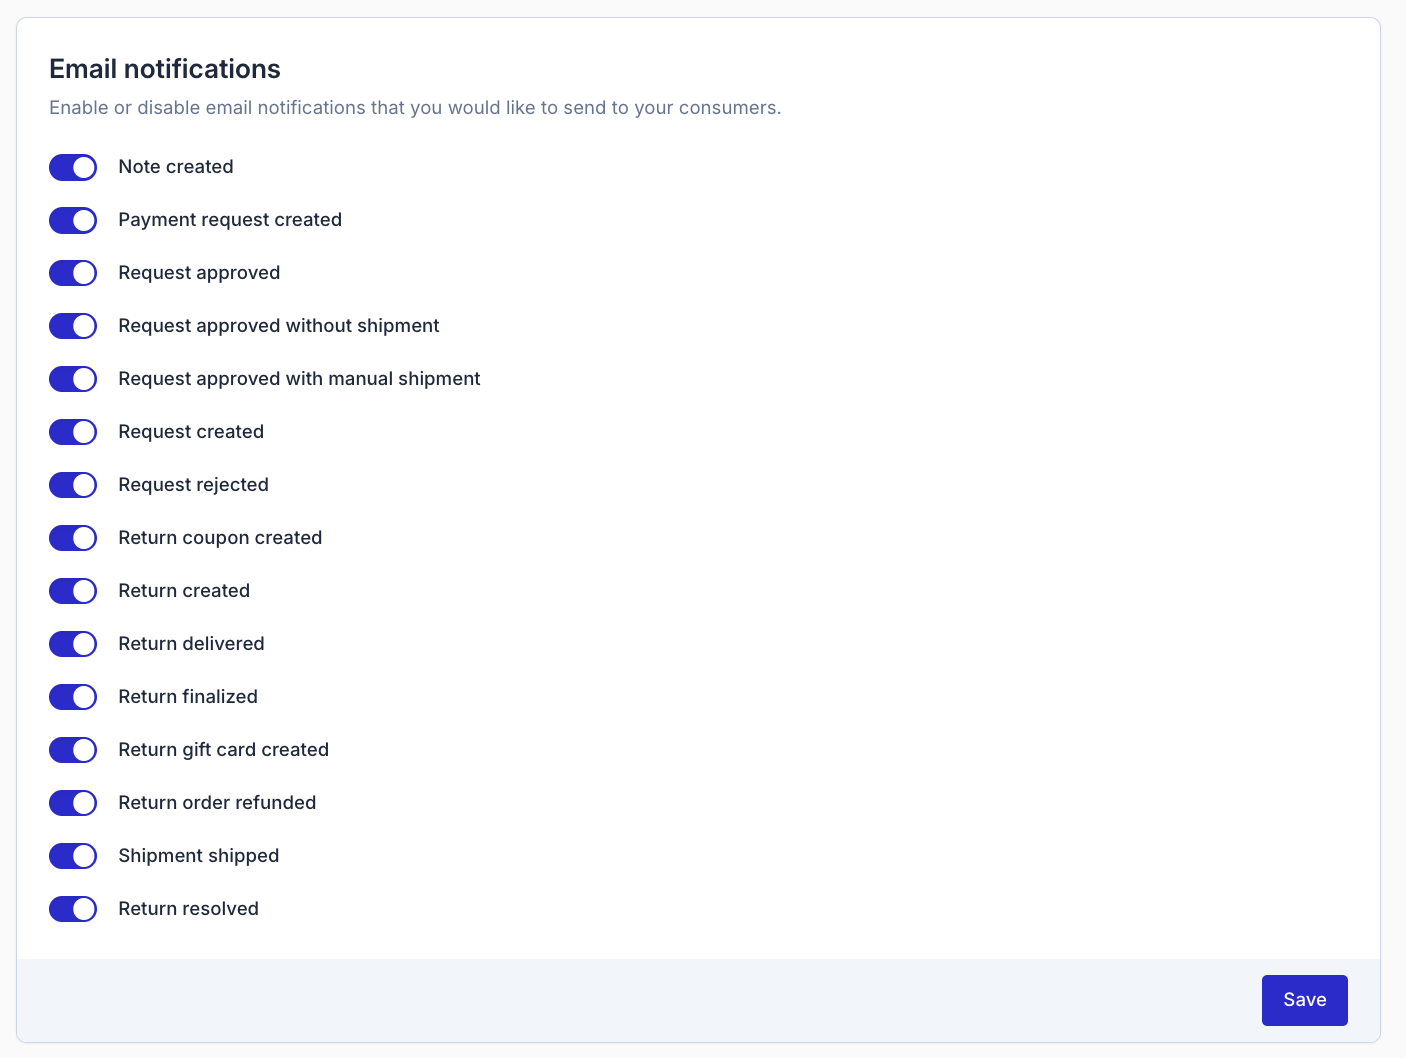
4. Email Notifications
Choose which automated emails are sent to customers during the return process.
Transactional emails overview
| Email notification | Description |
|---|---|
| Note created | Sent when a new note is added to a return or request. |
| Payment request created | Sent when a payment request is created and the customer must complete payment before continuing the return. |
| Request approved | Sent when the webshop approves a request. The customer can now continue and create the return. |
| Request approved without shipment | Sent when a request is approved and no shipment is needed. The customer is informed that the return will be processed without sending back the item. |
| Request approved with manual shipment | Sent when a request is approved but requires a manually arranged shipment instead of a generated label. |
| Request created | Sent when a return request is submitted and requires approval before proceeding. |
| Request rejected | Sent when a request is rejected. The customer is informed that the return cannot be created. |
| Return coupon created | Sent when the webshop creates a coupon in the Returnless panel. The email includes the coupon code and a link to redeem it. |
| Return created | Sent as soon as a return is created. Includes a link to the return status page. |
| Return delivered | Sent when the carrier or webshop marks the return shipment as delivered. |
|
Return finalized (Marketplaces only) |
Sent when the return is completely processed and marked as finalized for the Marketplace. |
| Return gift card created | Sent when the webshop issues a gift card as the return resolution. |
| Return order refunded | Sent when a refund is processed in the Returnless panel. |
| Shipment shipped | Sent when a shipment has been dispatched to the consumer (usually used for exchanges or replacement items). |
| Return resolved | Sent when the return is marked as resolved in the Returnless panel. |
(Several of the above appear in your screenshots and were not included in the original text — these have all been added.)
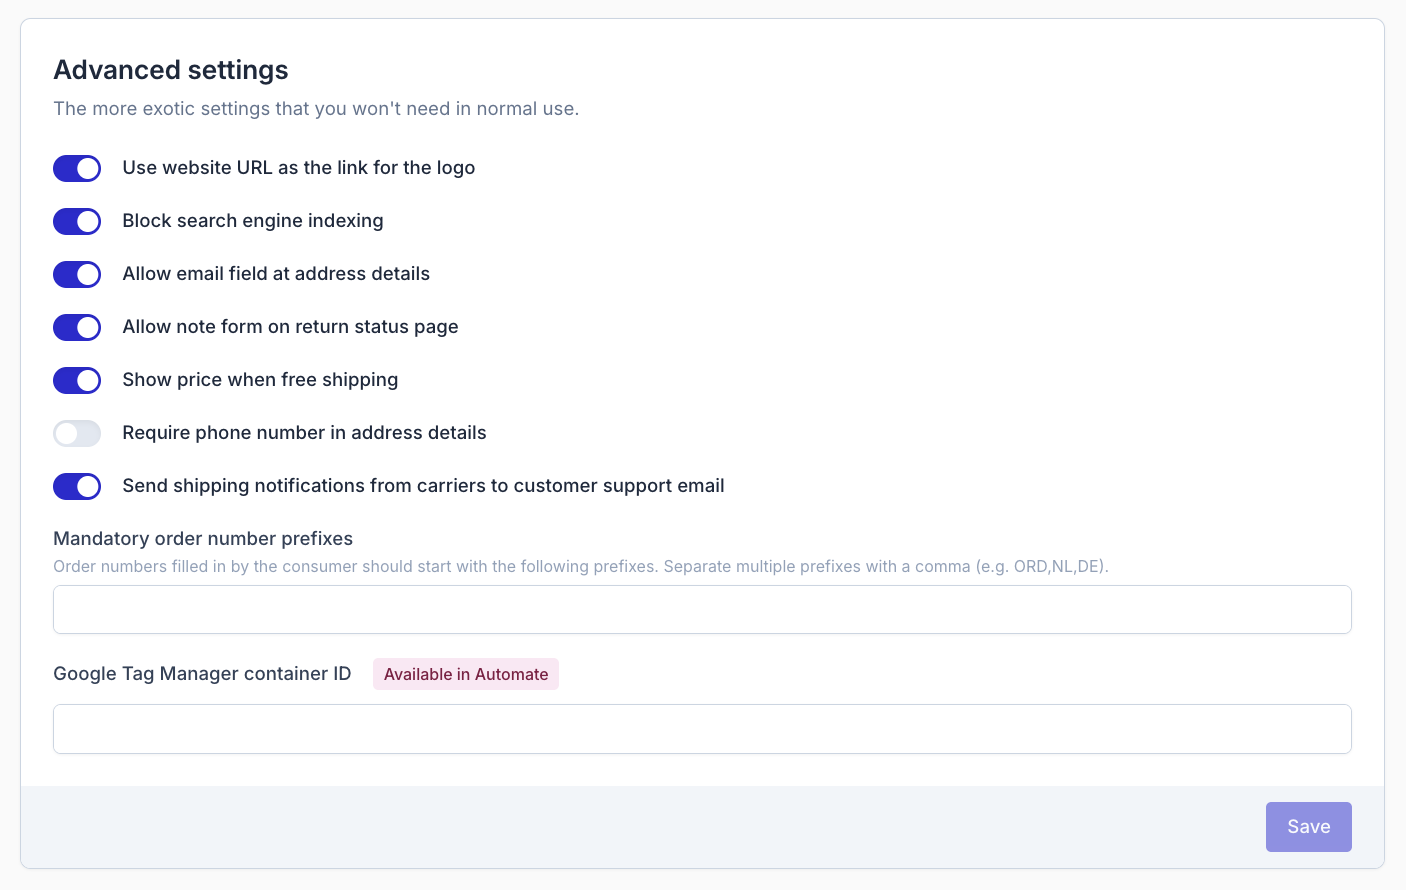
5. Advanced Options
Fine-tune additional behaviour of your return form.
Use website URL as logo link
Your logo will link customers back to your webshop.
Block search engine indexing
Prevents Google and other search engines from indexing your return form.
Allow email field at address details
Adds an optional email field for the customer when entering address information.
Allow note form on return status page
Customers can add notes after submitting their return.
Show price when free shipping
Displays the product price even when the return shipping is free.
Require phone number in address details
Makes phone number entry mandatory for customers.
Send shipping notifications from carriers to support email
Carrier notifications will be forwarded to the customer support email configured in the form.
Mandatory order number prefixes
If you require order numbers to start with certain prefixes, enter them here (e.g., ORD,NL,DE ). Only orders matching these prefixes will be accepted.
Google Tag Manager container ID
Enter your GTM container ID to embed Google Tag Manager in your return form (Available in Automate plans only).