Connecting JTL Wawi to Returnless via REST API
This guide will walk you through connecting your JTL Wawi instance to Returnless using the JTL REST API. This integration allows for seamless data synchronization between your warehouse management system and your returns portal.
⚠️ Important: Check your JTL Wawi Version
Before you begin, please verify which version of JTL Wawi you are currently running. The setup process differs significantly depending on your version:
- JTL Wawi 1.11: Follow this guide to connect via the REST API. This requires a manual server setup and a pilot program license.
- JTL Wawi 2.0: We recommend using the JTL Cloud connection. It is a much simpler, more modern integration method. Click here to view the JTL Cloud setup guide.
Phase 1: Preparation in JTL Wawi
Before connecting to Returnless, you must ensure your JTL environment is ready to communicate with external platforms.
1. Get a JTL API Pilot Program License
The JTL Wawi API is currently in its Open Beta phase, which requires a specific pilot program license.
- Follow the official JTL guide: to secure your license.
2. Start the API-REST Server
Once the license is active, you need to initialize the server:
- Follow the steps in the guide.
- Profile Selection: In the API tool, select the correct profile.
- IP Address: Ensure you select the Lokale IP-Adresse des Rechners (Local IP address of the computer) option.
- Port: You can leave the port set to the default value.
3. Expose the API
To allow Returnless to communicate with your JTL server, the API must be accessible from outside your local network:
- Firewall Settings: Ensure the port used in the previous step is open in your JTL server’s firewall.
- URL: The API must be reachable via a public URL. Save this URL, as you will need it during the Returnless setup.
Note: For a visual walkthrough of the JTL REST API setup, we recommend watching this JTL tutorial video:
Phase 2: Connecting to Returnless
With your API exposed and your URL ready, follow these steps to link the two platforms.
1. Access the JTL Wawi Beta Interface
On your JTL server, open the new JTL-Wawi (Beta) interface.
-
If the icon is missing from your desktop, navigate to the program path:
C:/Program Files (x86)/JTL-Software/JTL-SharpWawi.exe.

2. Start the Integration in Returnless
- Log in to your Returnless panel.
-
Navigate to Settings > Integrations.

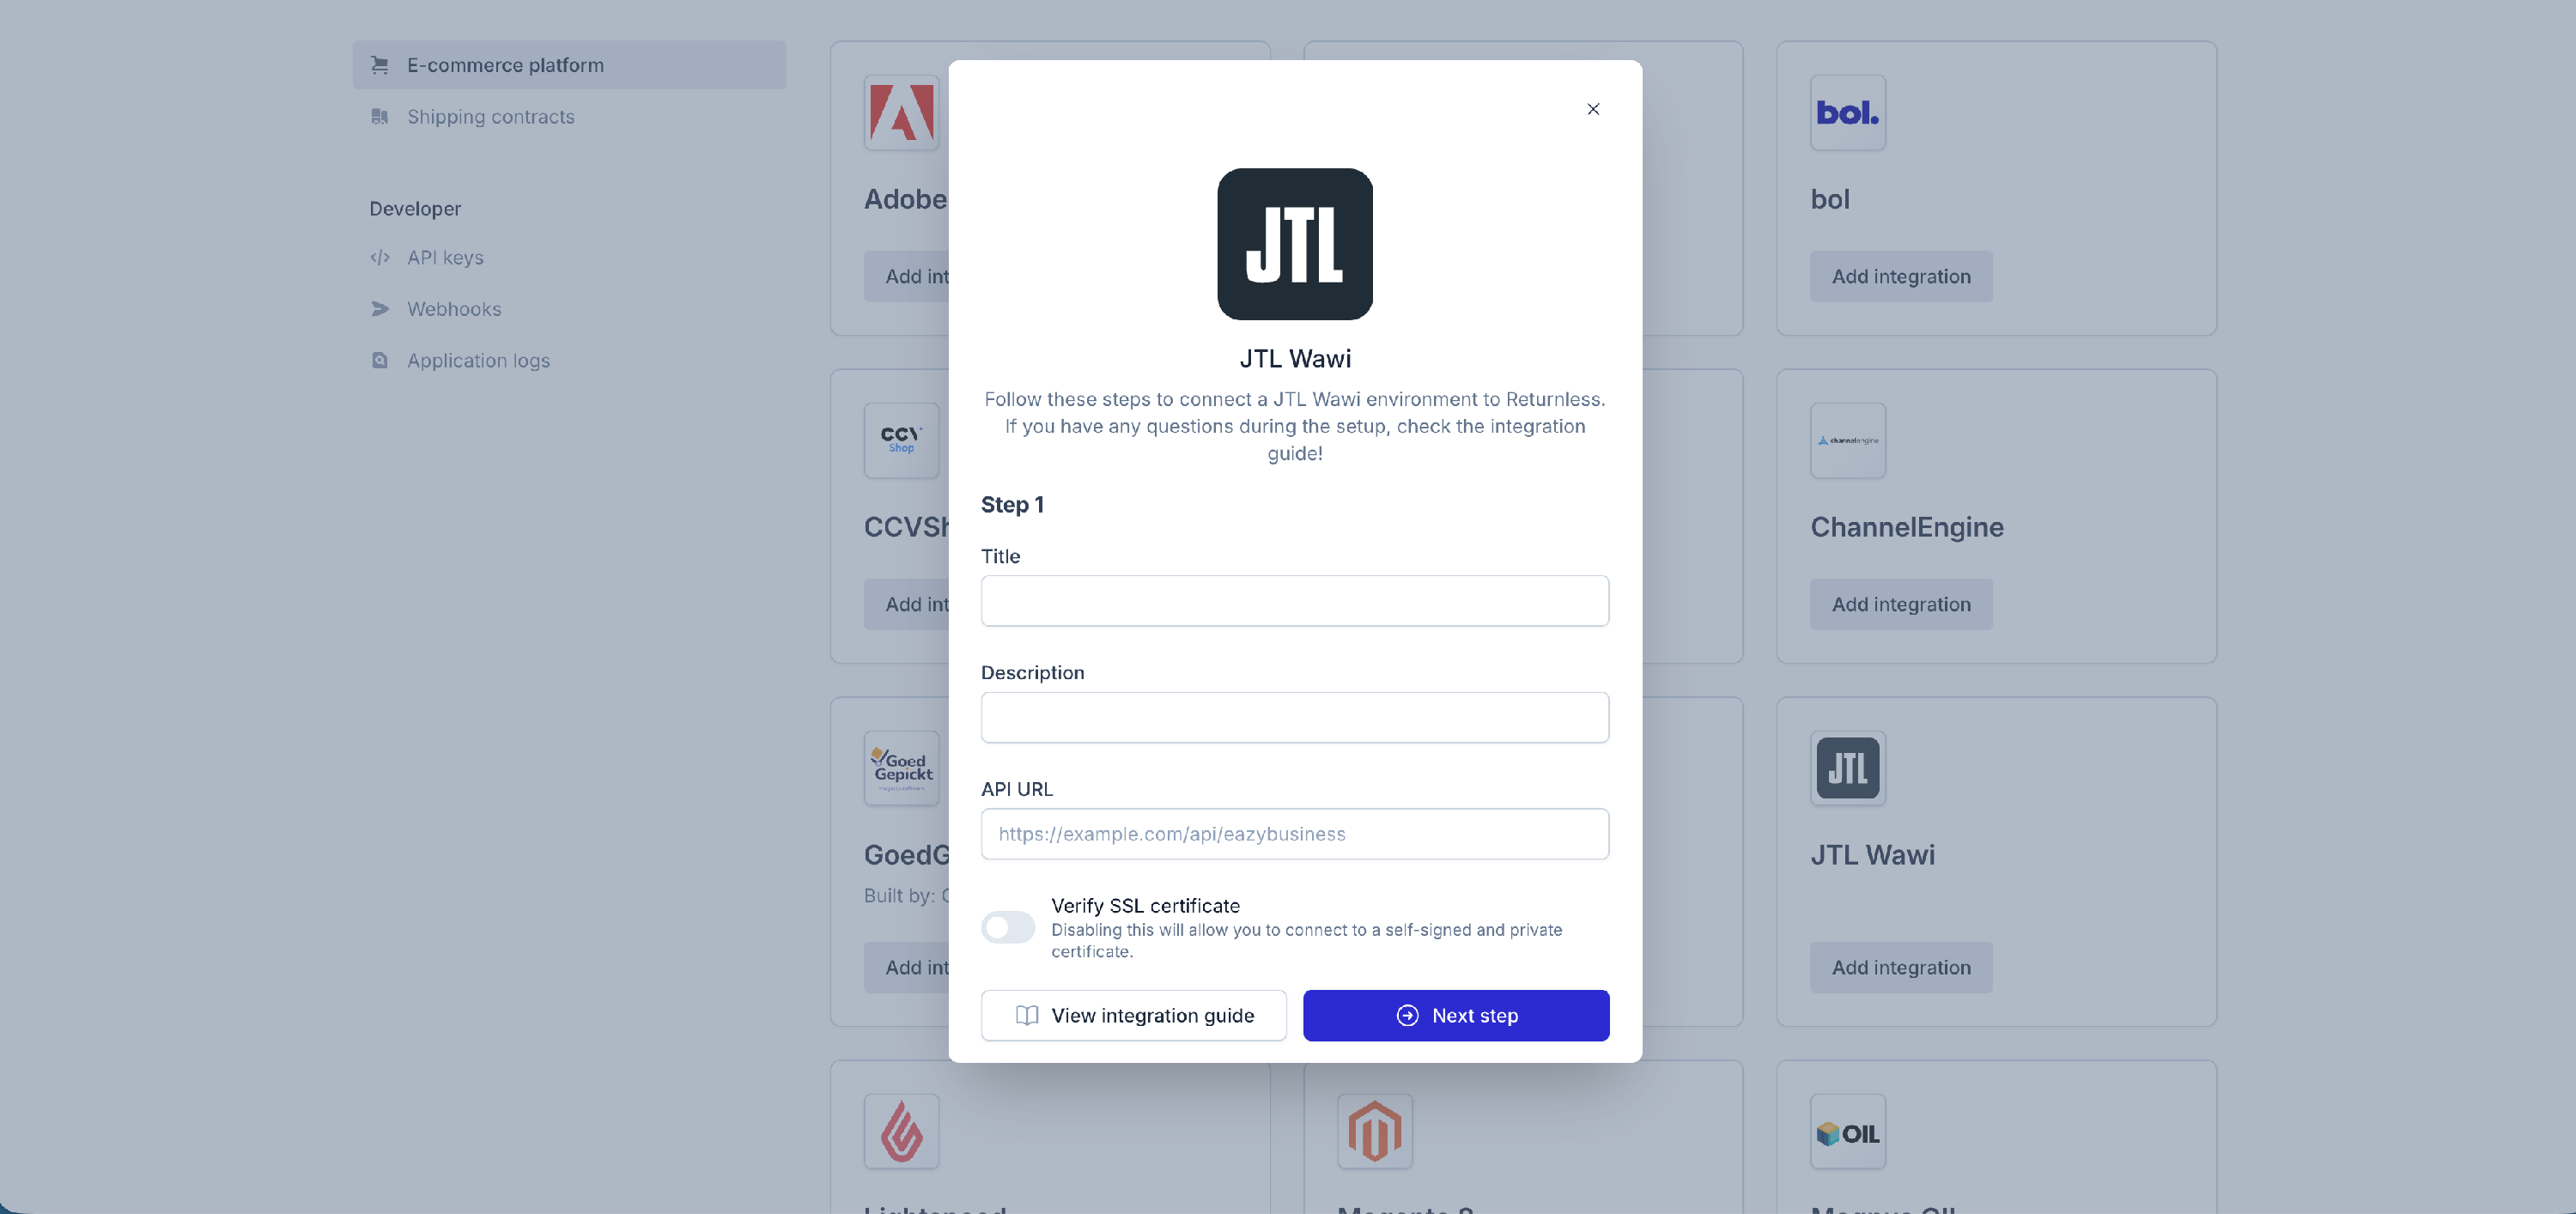
- Click the Add new integration button within the "E-commerce platform" section.
- Select JTL Wawi from the list to open the setup modal.

3. Configuration Steps
-
Enter a Title and Description for your integration. Paste the API URL you saved earlier. Click Next.
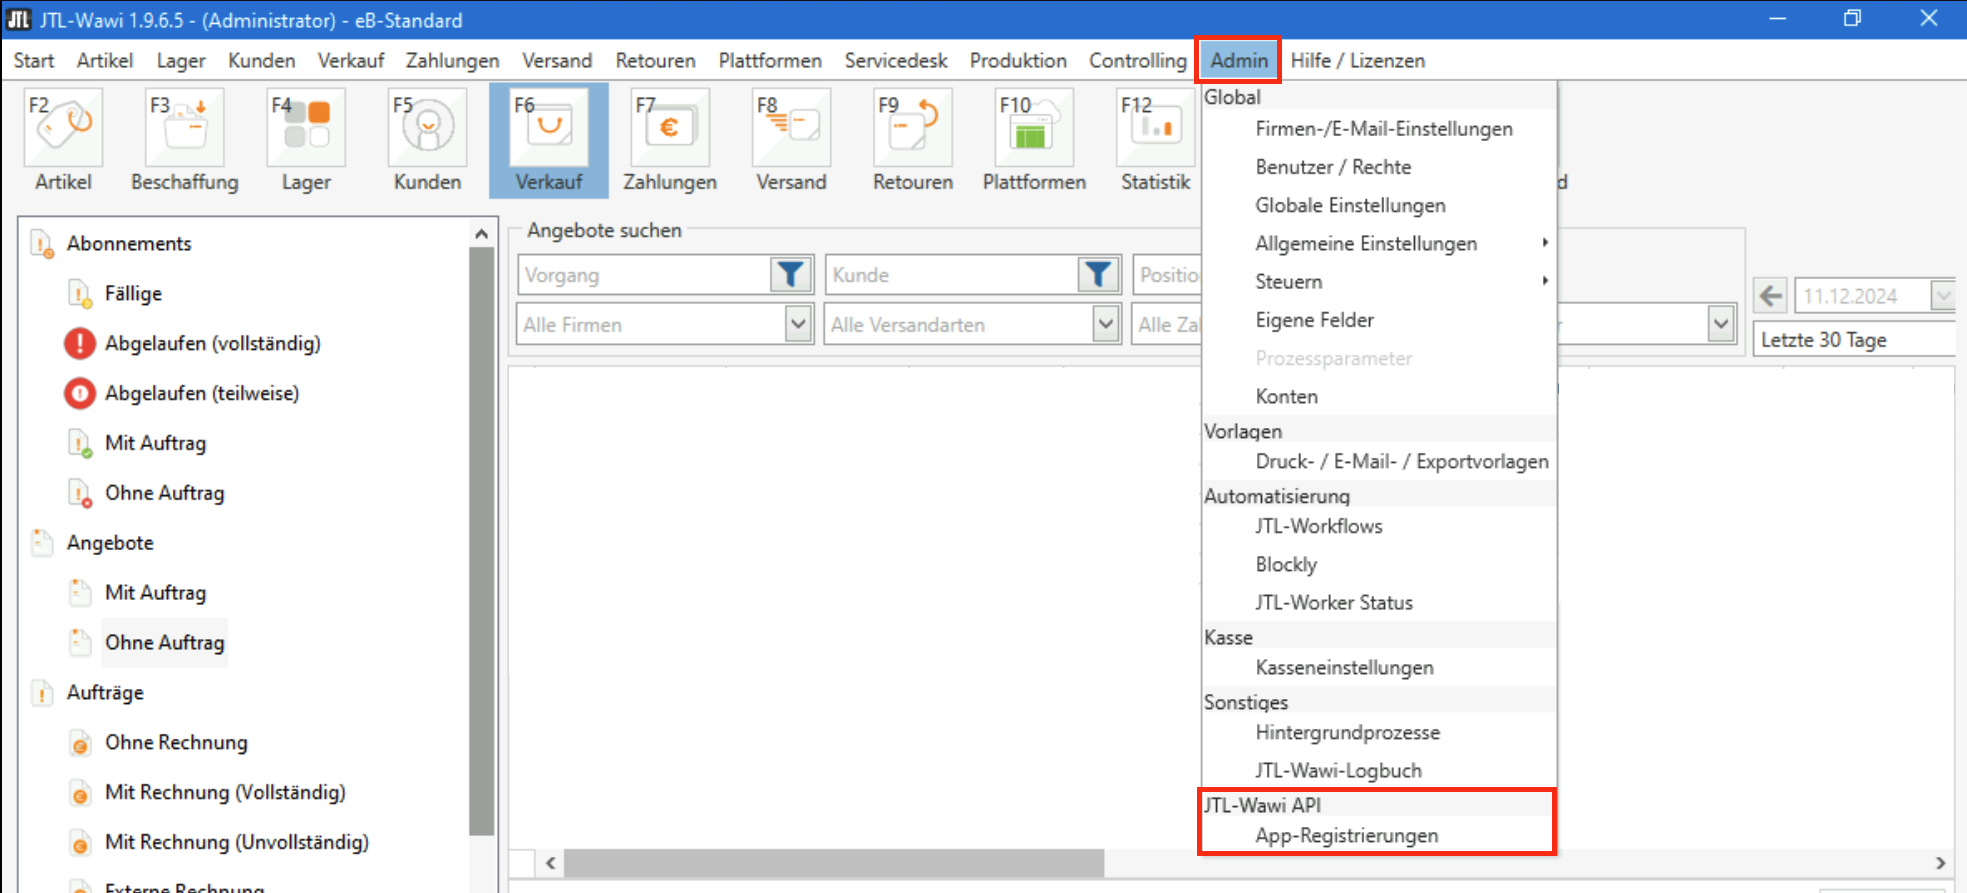
-
In the JTL Wawi (Beta) interface, go to Admin > JTL Wawi API > App-Registrierungen.
-
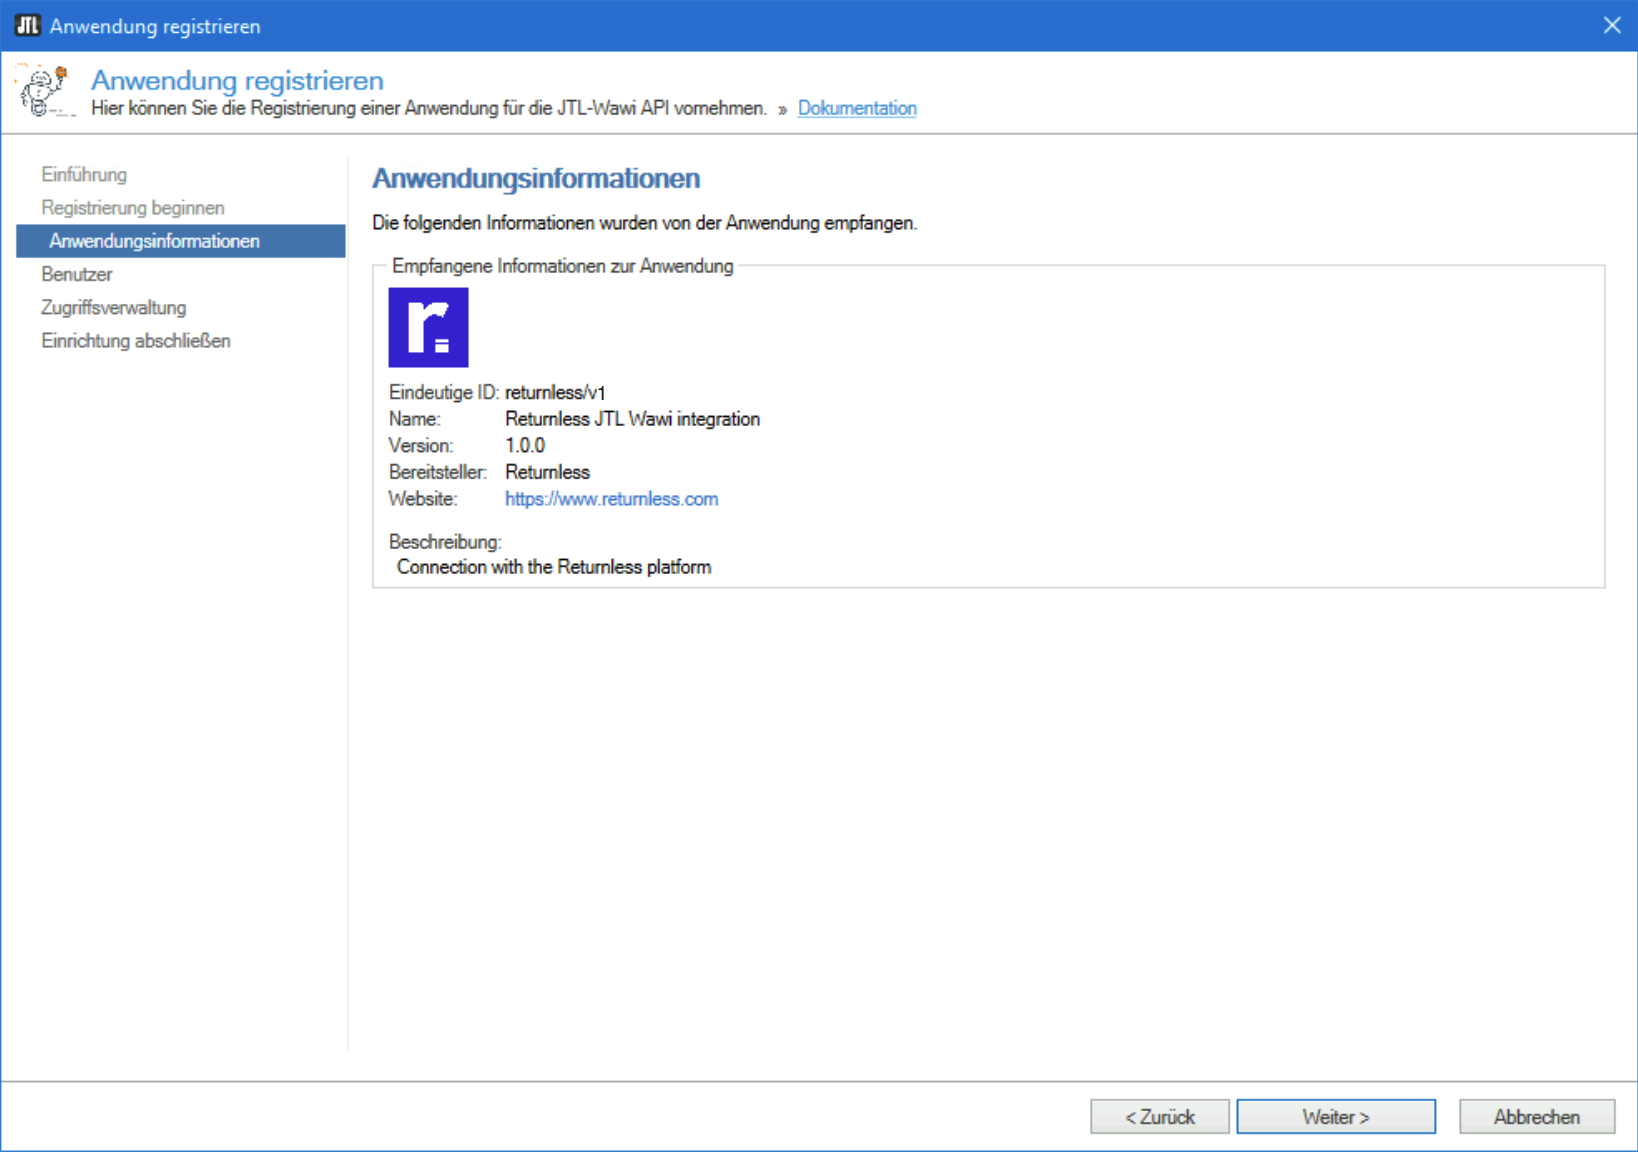
Click Hinzufügen > Weiter, you should see the following screen:
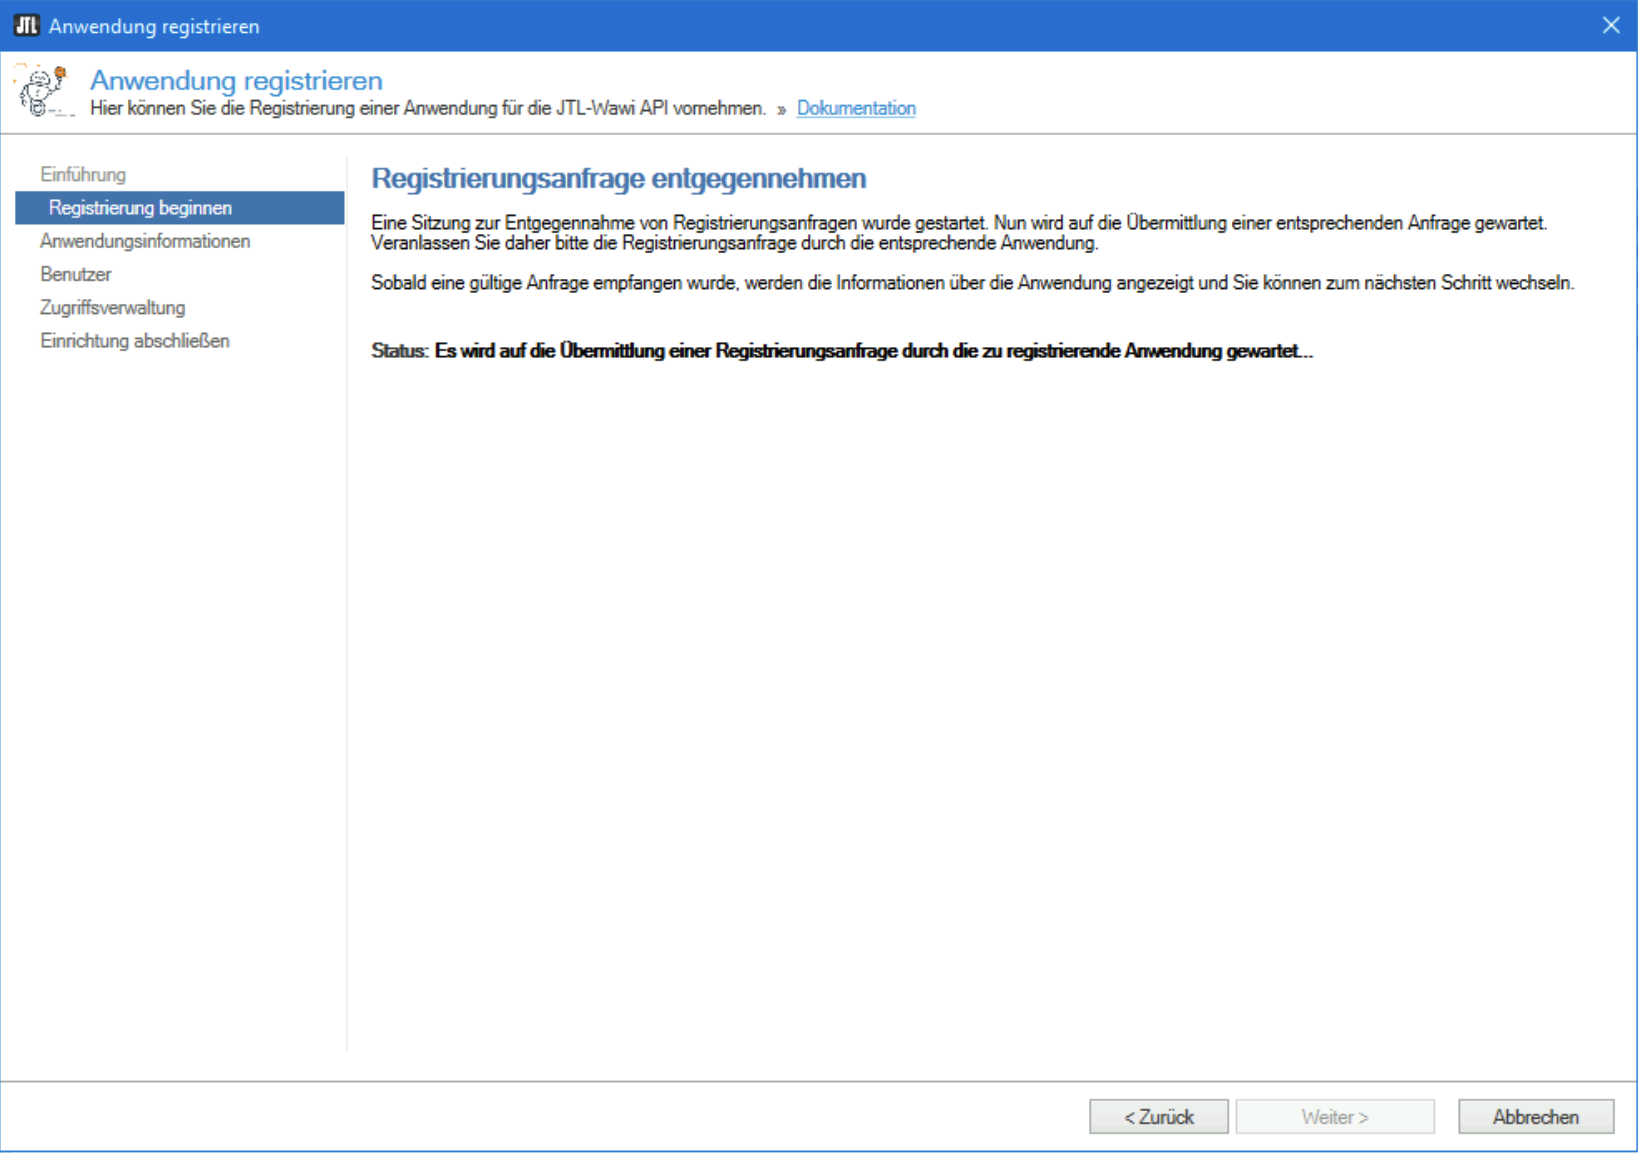
-
Return to the configuration modal in Returnless and proceed to Step 3. You will see the following screen in JTL:
-
When proceeding n JTL, you will see a screen displaying "Scopes" (permissions).
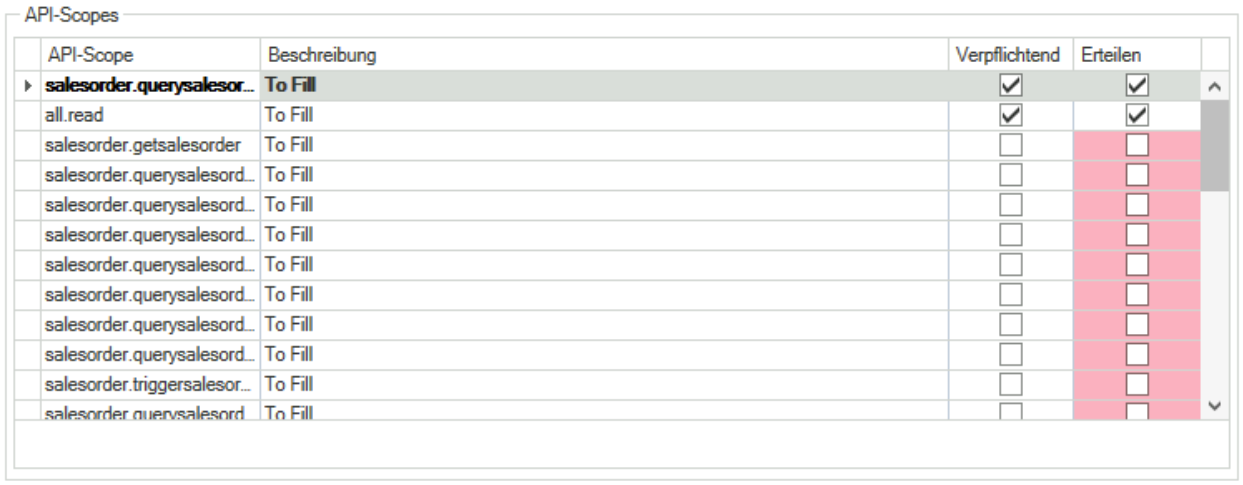


- Required scopes are pre-marked.
- Select all optional scopes as well to ensure your integration supports new features automatically as they are released.
4. Finalize & Verify
Complete the workflow within JTL Wawi. Once finished, return to your Returnless account and click Verify integration in the configuration modal.
General Settings & Troubleshooting
Once the connection is established, you can manage the integration details:
- Platform Version: Your current JTL Wawi version will be displayed in the "Platform Version" field.
- Refreshing Data: If the version does not appear or if you have made changes in JTL, click Refresh integration data to sync the latest information.
